Do you need an easy gift idea to make for others? Perhaps for Mother’s Day, Father's Day, a volunteer gift, or to help a friend celebrate a recent milestone. Whatever the reason, a wristlet for keys is an extremely easy and thoughtful homemade gift!
Read on to learn exactly how to make them. Happy sewing!
Materials you need:
If you would like to add names or other words (like “half crazy”) you will also need a silhouette, cricket, or other similar vinyl cutting machine. Cut the name ahead of time. The name needs to be less than 1 inch tall. I generally make the name .75 of an inch tall.
Read on to learn exactly how to make them. Happy sewing!
Materials you need:
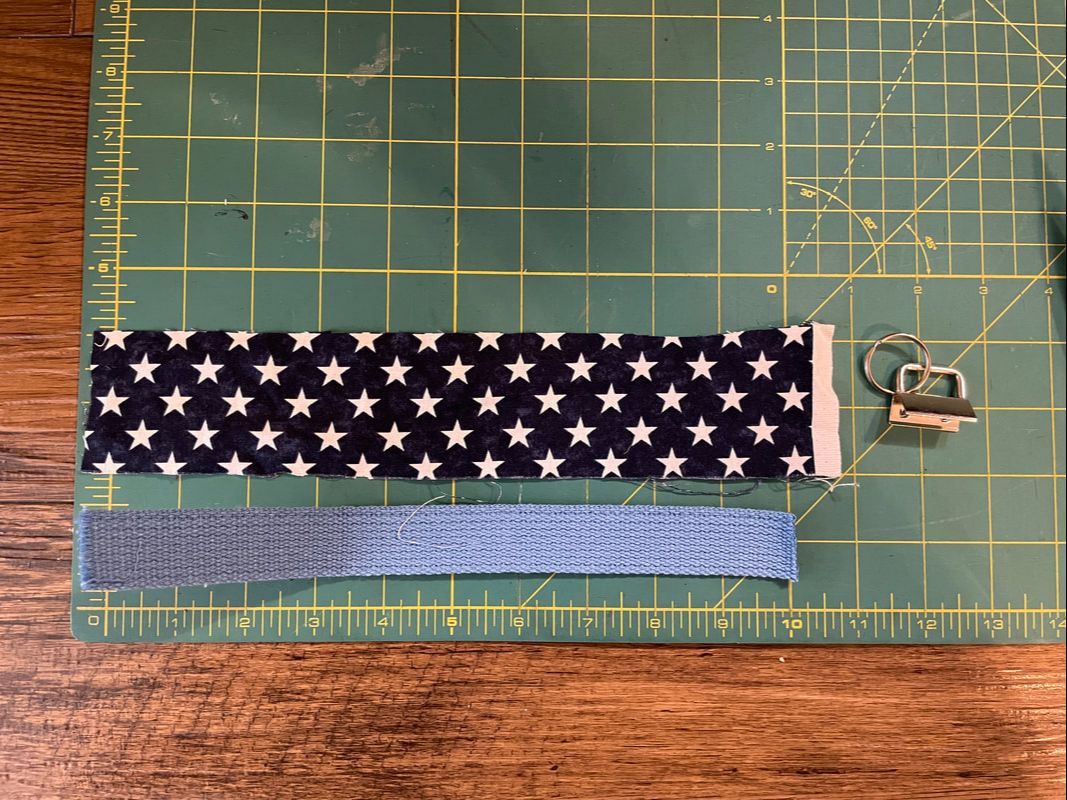
- Old cammies or any fabric cut into a 2inch x 10 inch strip.1 inch Webbing cut into a 10 inch strip.
- Key fob hardware
- Sewing Machine (needle, thread)
If you would like to add names or other words (like “half crazy”) you will also need a silhouette, cricket, or other similar vinyl cutting machine. Cut the name ahead of time. The name needs to be less than 1 inch tall. I generally make the name .75 of an inch tall.
Steps:
1. Cut the webbing to 1 inch and the fabric to 2 inches x 10 inches.
1. Cut the webbing to 1 inch and the fabric to 2 inches x 10 inches.
2. Burn the edges of the webbing with a lighter to melt pieces together and prevent future fraying.
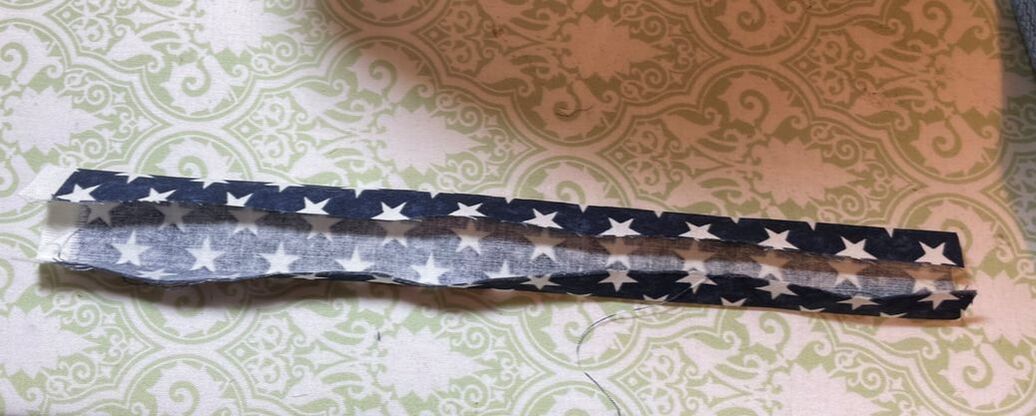
3. Iron the 2x10 cloth piece in half. Open the cloth piece and iron one edge to the halfway point. Repeat for the other side. See below photo for what it should look like at the end of the ironing process.
3. Iron the 2x10 cloth piece in half. Open the cloth piece and iron one edge to the halfway point. Repeat for the other side. See below photo for what it should look like at the end of the ironing process.
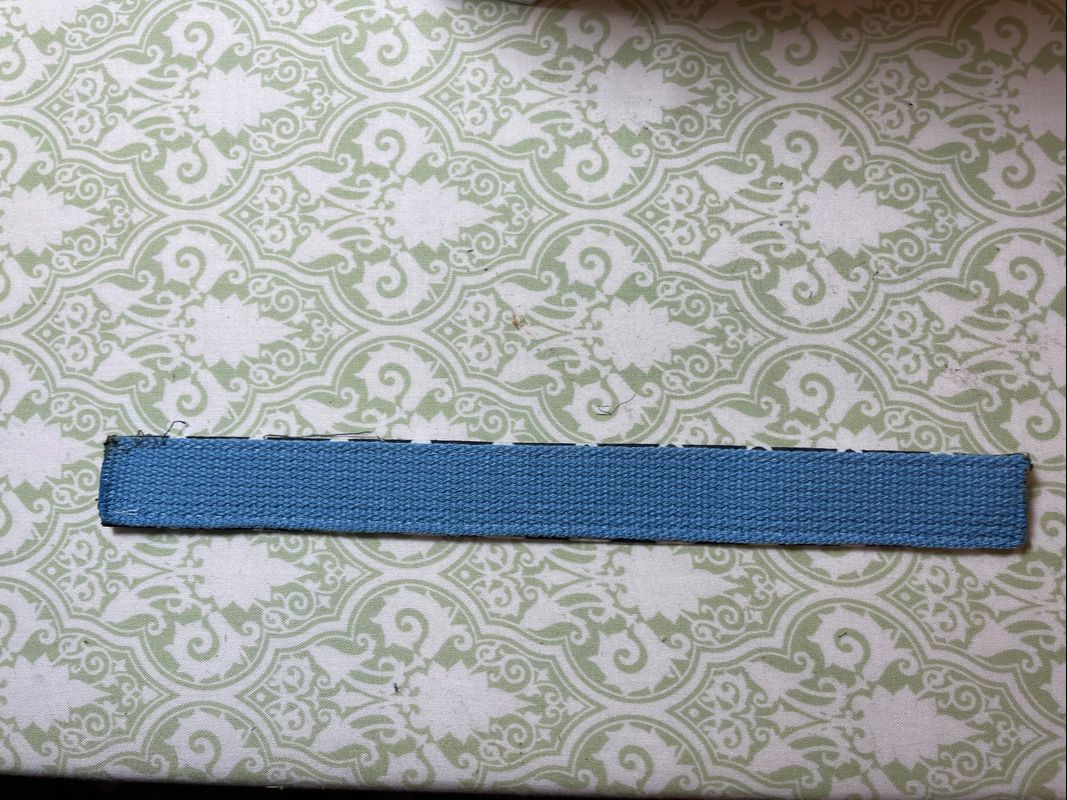
4. Stack the freshly ironed cloth piece onto the webbing so the edges of the fabric are touching the webbing. Stitch these pieces together. I like to use a longer stitch for this top stitching, generally a stitch length of 3. Repeat for the other side.
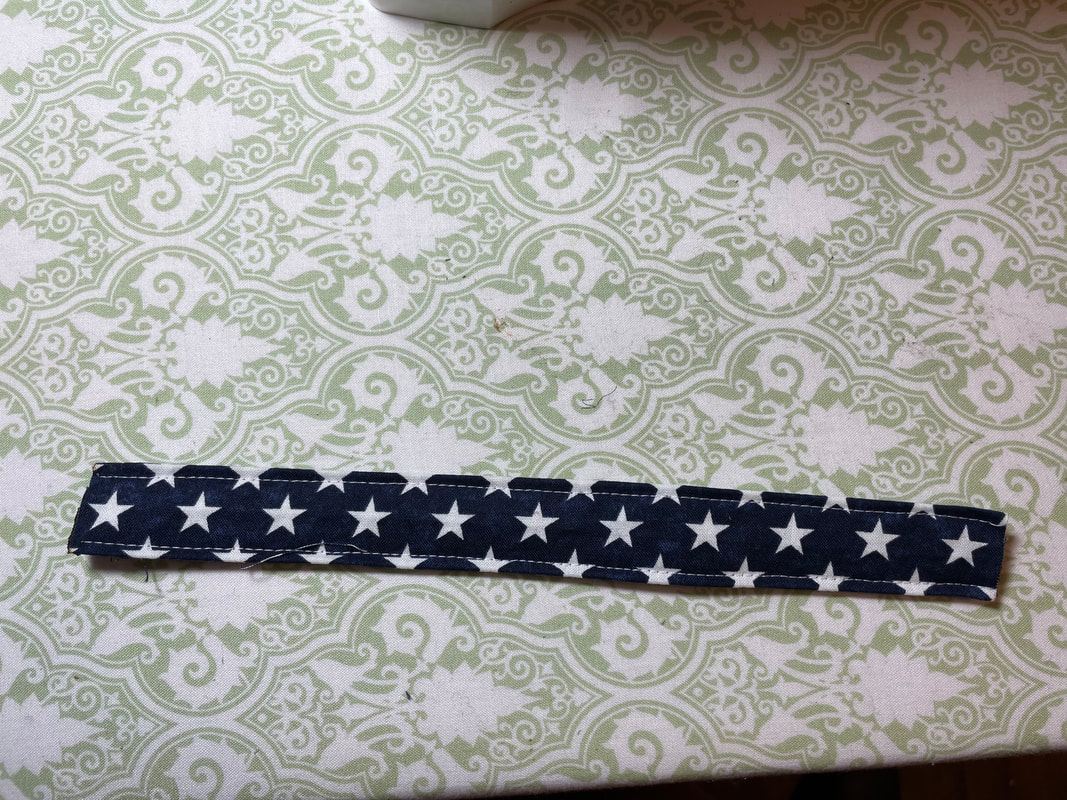
***Note, you can color coordinate your threads to match or contrast the top and bottom colors as you wish. Below is top and bottom of what the finished product should look like.***
***Note, you can color coordinate your threads to match or contrast the top and bottom colors as you wish. Below is top and bottom of what the finished product should look like.***
 |  |
5. At this point you may choose to apply the name, or you can add the name at the end. Your choice. To determine the placement of the name, fold the fabric in half and pick based on looking at half of it. Don’t forget the hardware will take up about .5 of an inch at one end.
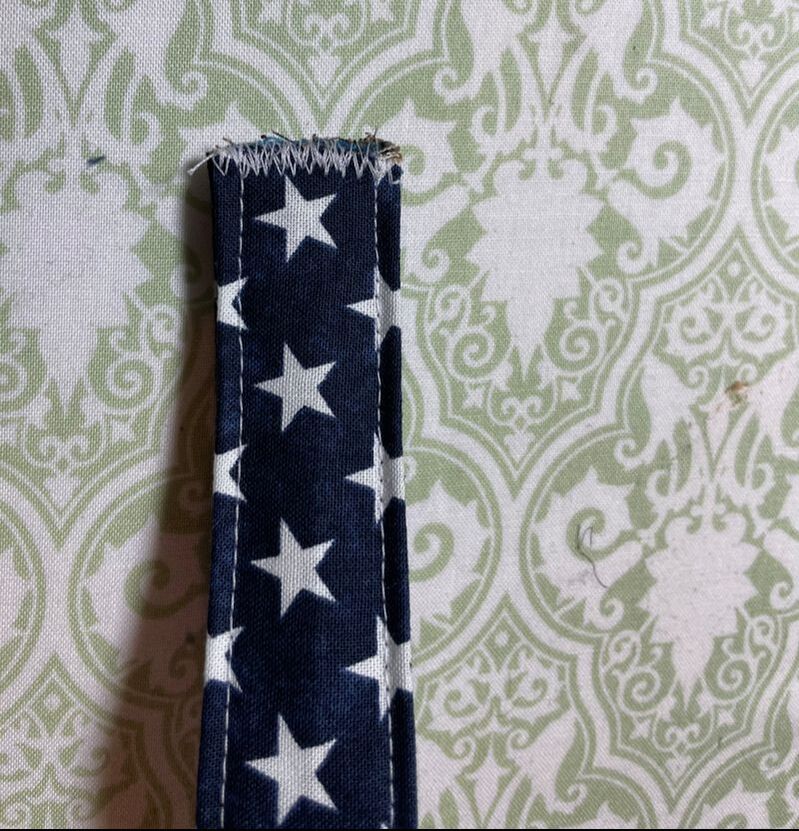
6. Fold in half and zig-zag to secure the two pieces together along the edge at the shortest side. I like to go back and forth over it a few times. See photo below, taken after this step was completed.
6. Fold in half and zig-zag to secure the two pieces together along the edge at the shortest side. I like to go back and forth over it a few times. See photo below, taken after this step was completed.
7. Use pliers to attach the key fob hardware (per the instructions that come with the key fob hardware). Basically, center it and press closed. Give a little tug to make sure it is secure and locked in place. Then an extra press to be doubly sure! See finished product below.
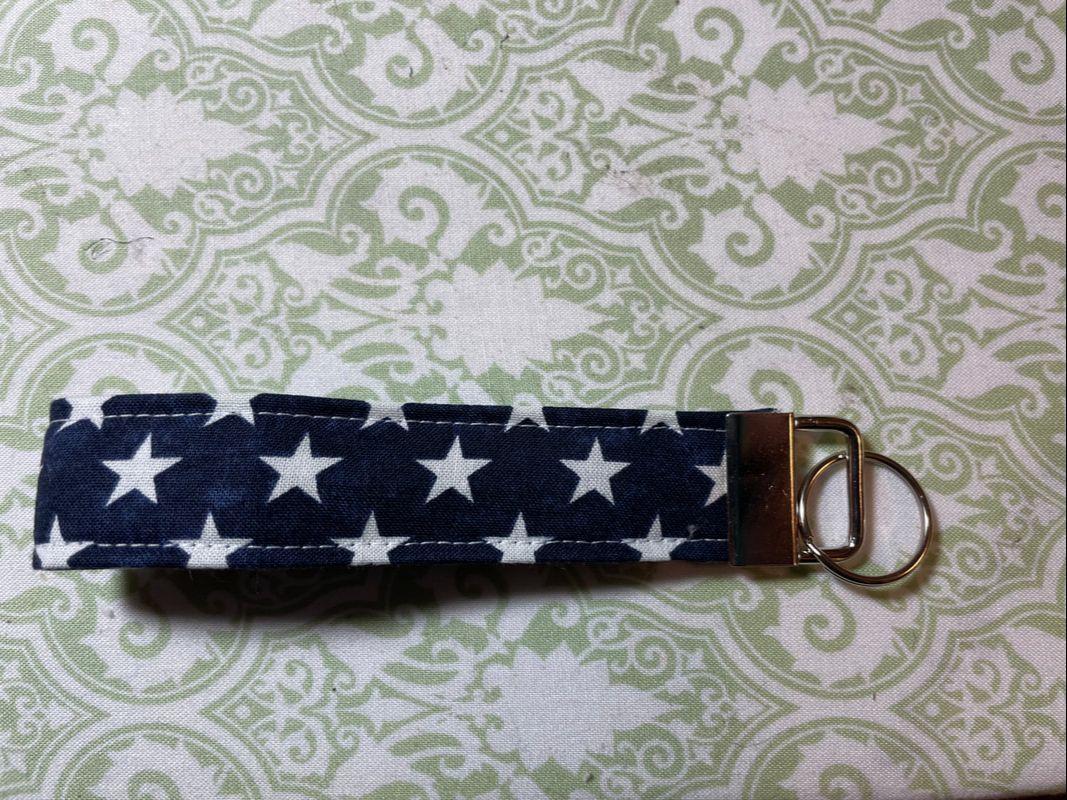
Congratulations, you’re done!
Happy Sewing!
Kelly
Happy Sewing!
Kelly
 RSS Feed