Hello Stroller Warriors!
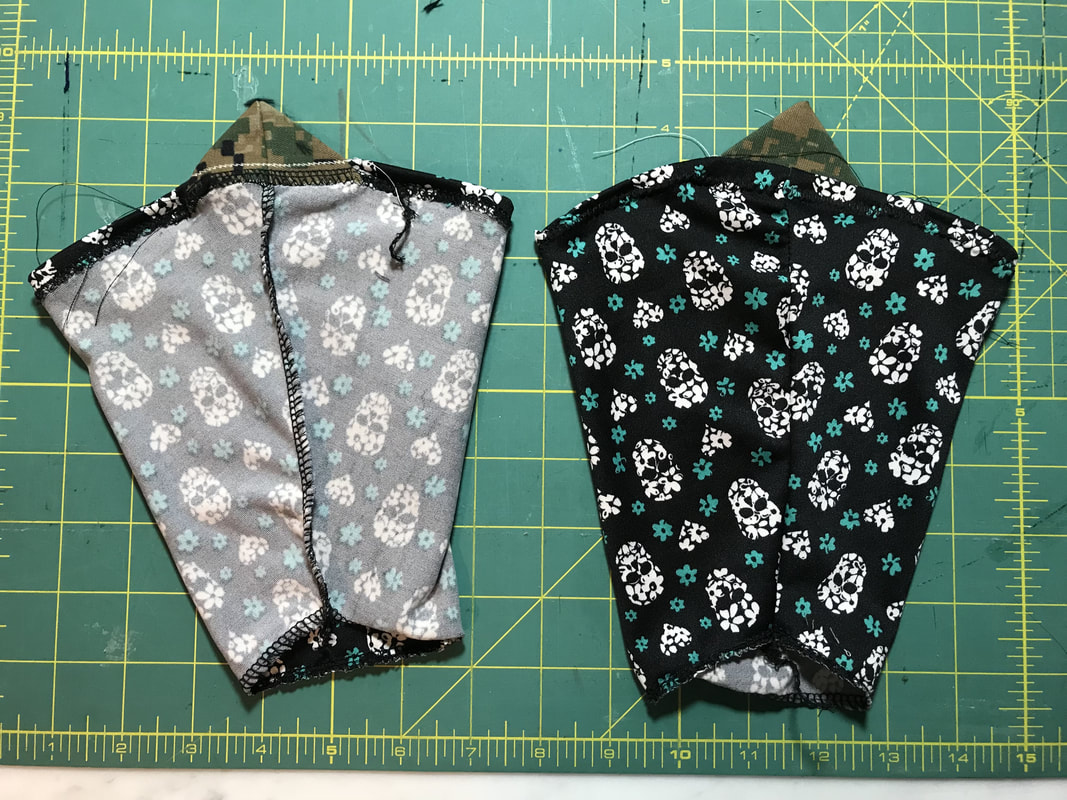
I’ve got an easy craft for you, scrunchies! Soon you'll be able to make scrunchies for all of your favorite running friends. Scrunchies are coming back in style (or so my pre-teen says). Here is how to do them!
I’ve got an easy craft for you, scrunchies! Soon you'll be able to make scrunchies for all of your favorite running friends. Scrunchies are coming back in style (or so my pre-teen says). Here is how to do them!
What you need:
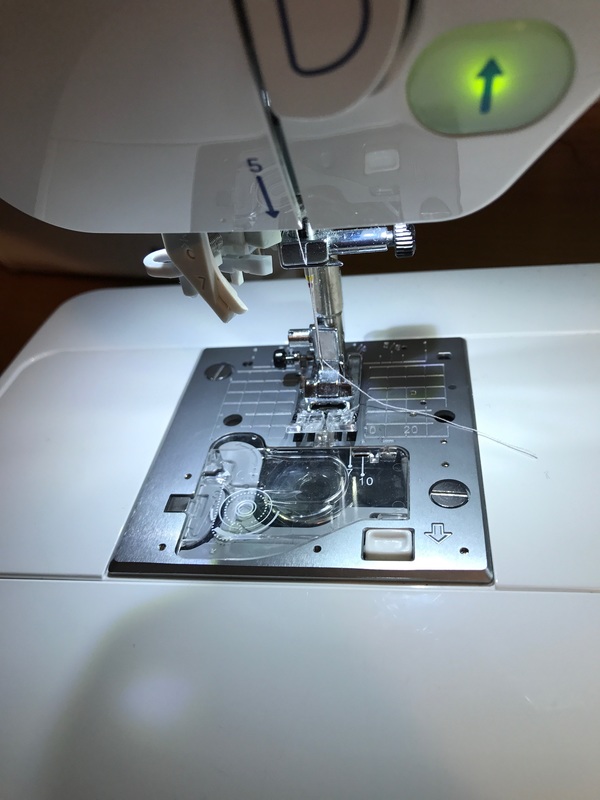
-Sewing machine
-Thread
-Scissors
-Safety pins (2)
-Fabric
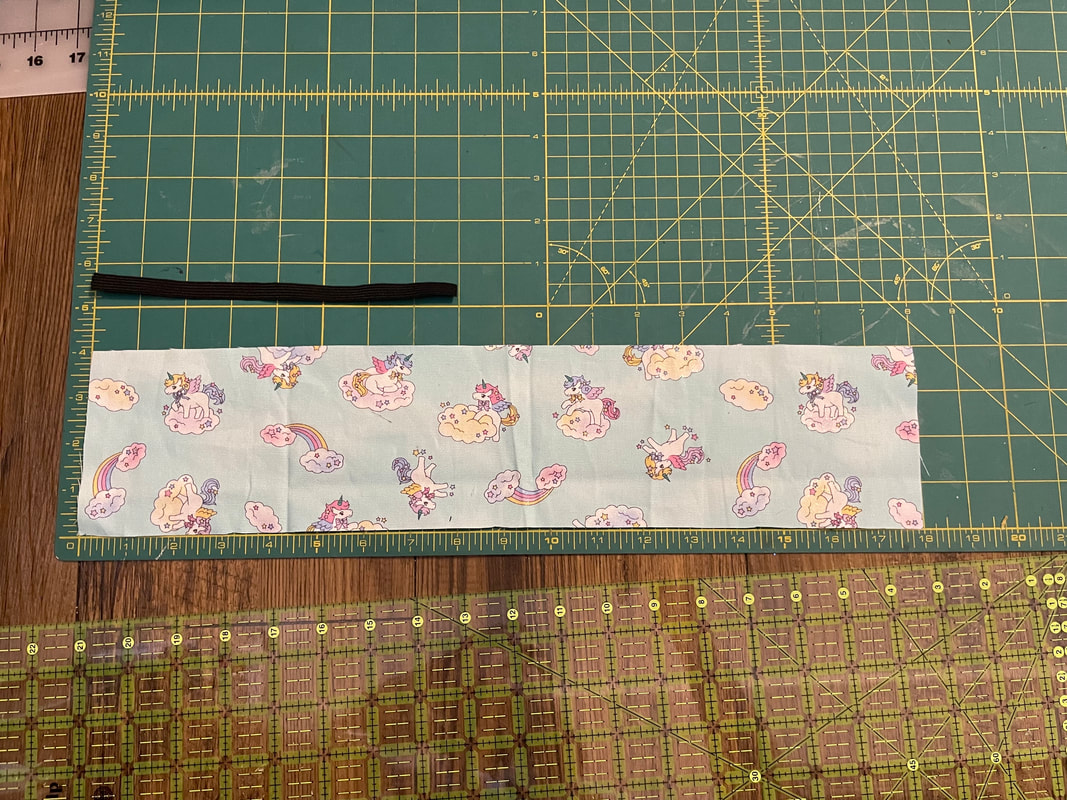
-Elastic, 1/4 inch or 1/2 inch preferred.
-Sewing machine
-Thread
-Scissors
-Safety pins (2)
-Fabric
-Elastic, 1/4 inch or 1/2 inch preferred.
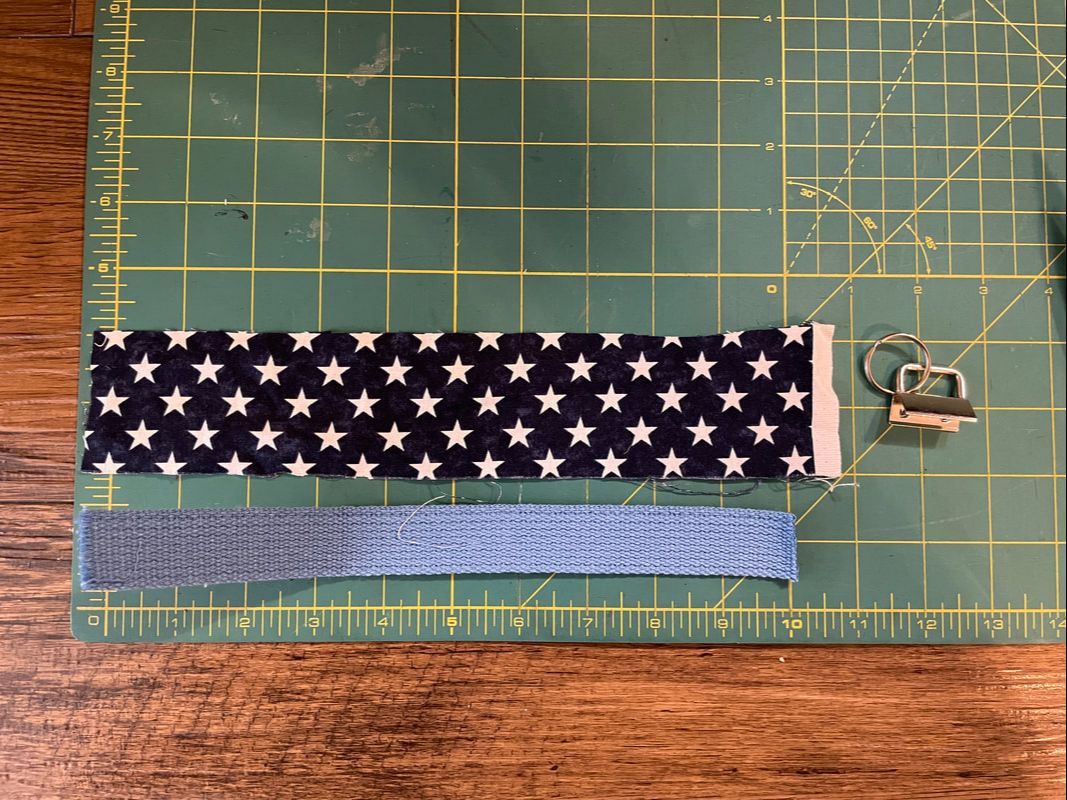
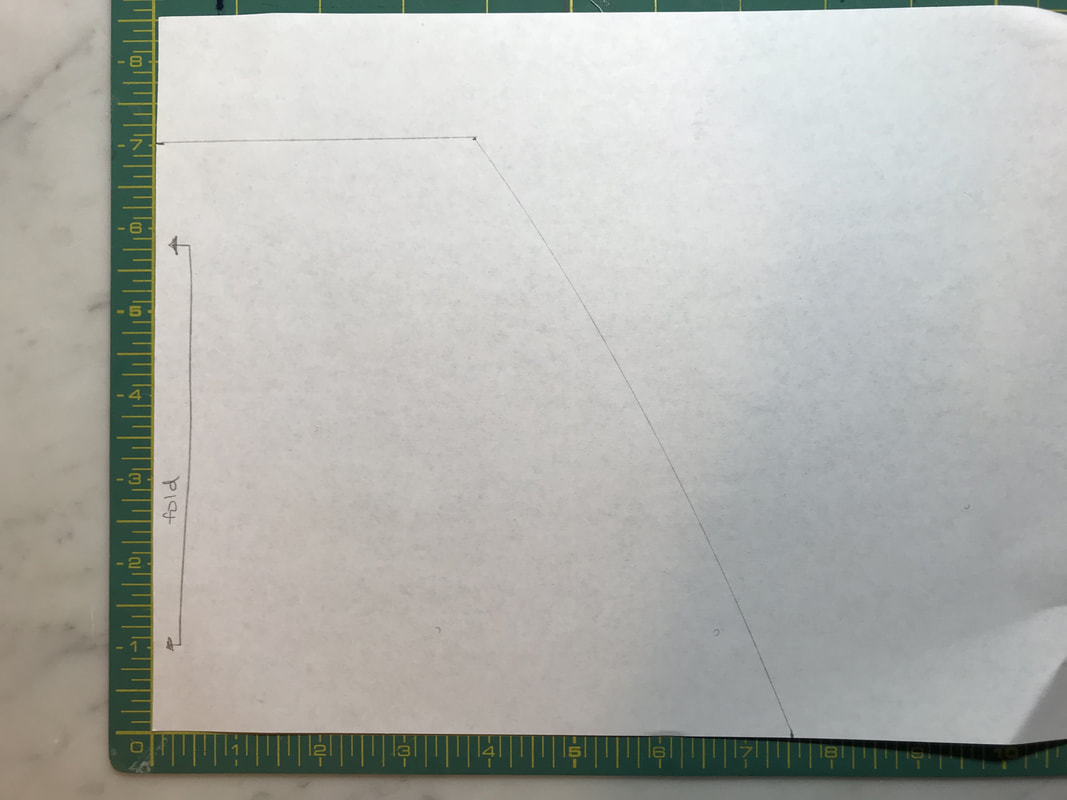
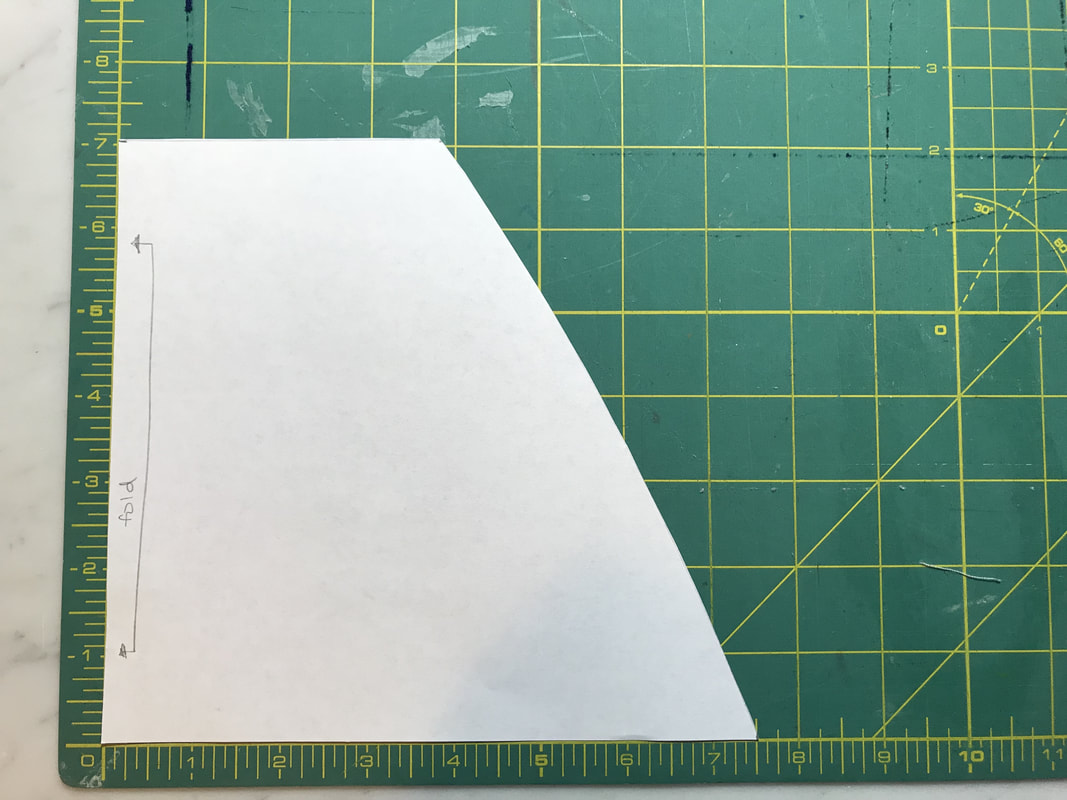
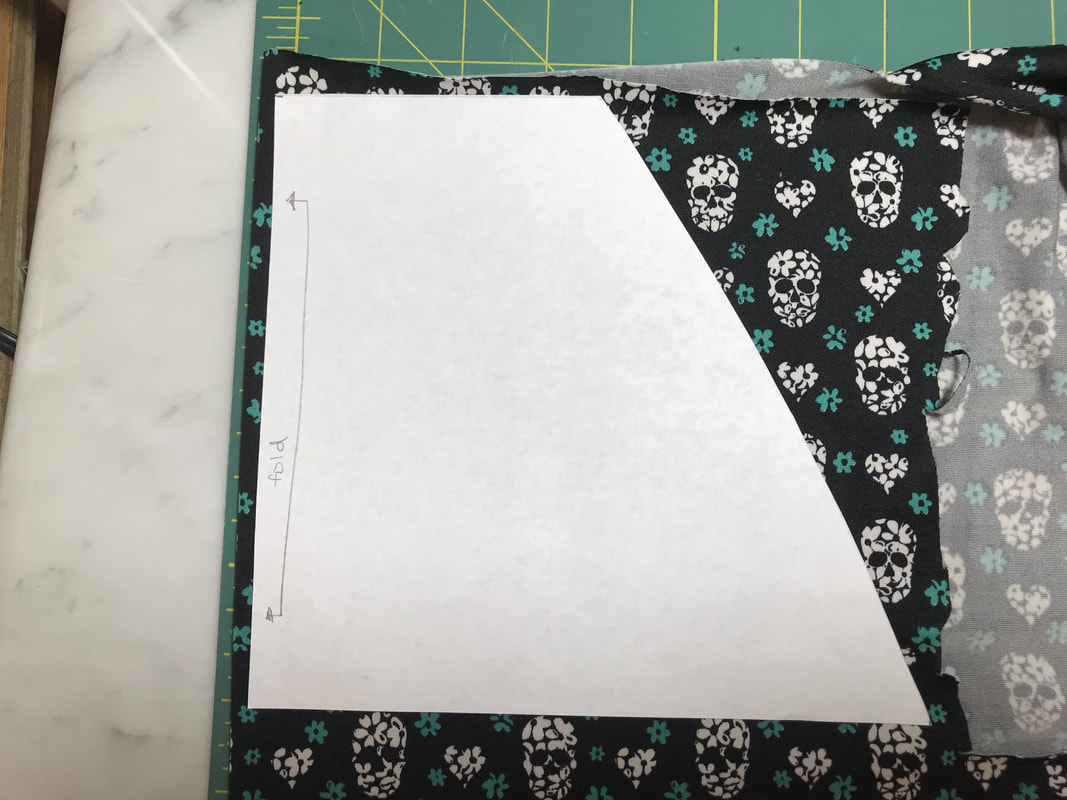
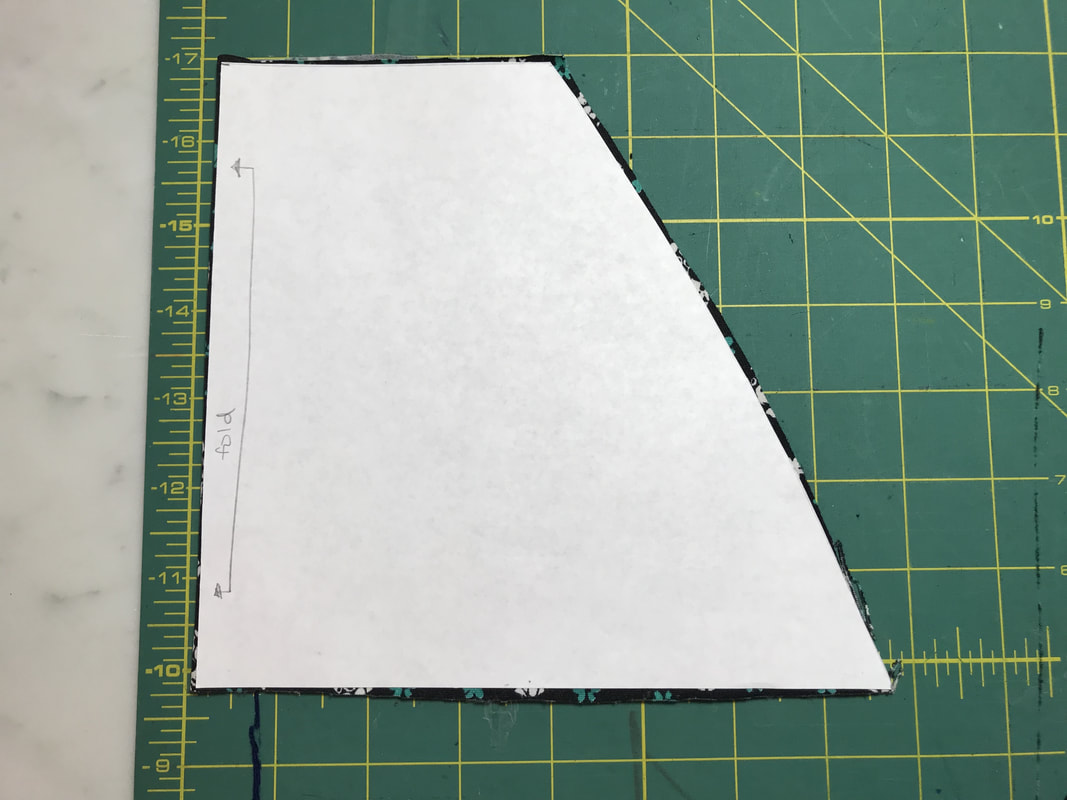
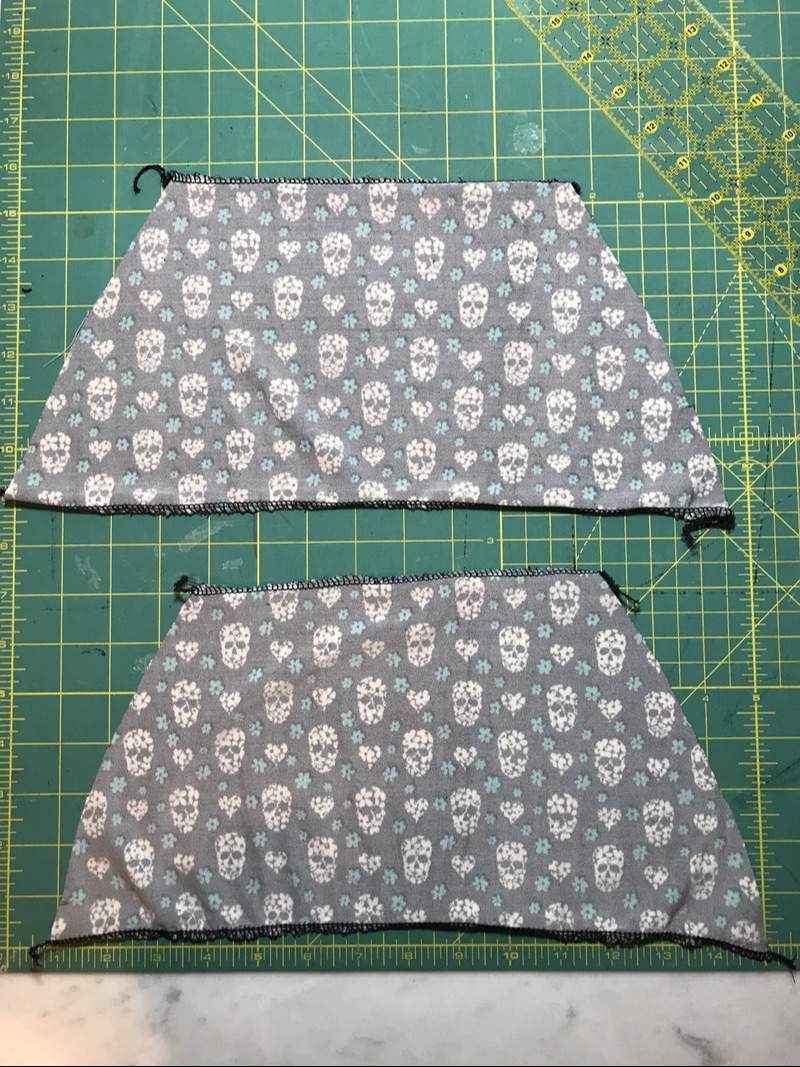
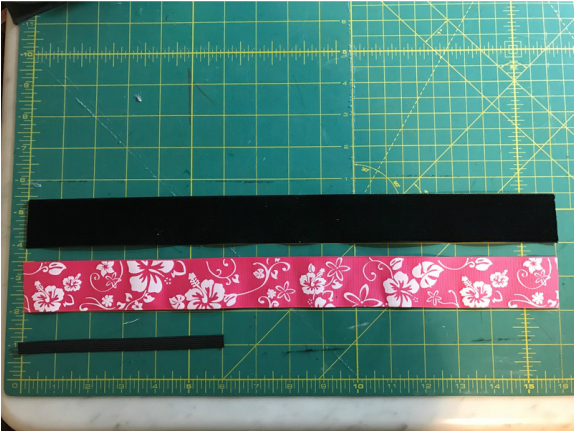
1. Cut fabric in a rectangle, 4in x 18 inches
2. Cut elastic, 8 inches
2. Cut elastic, 8 inches
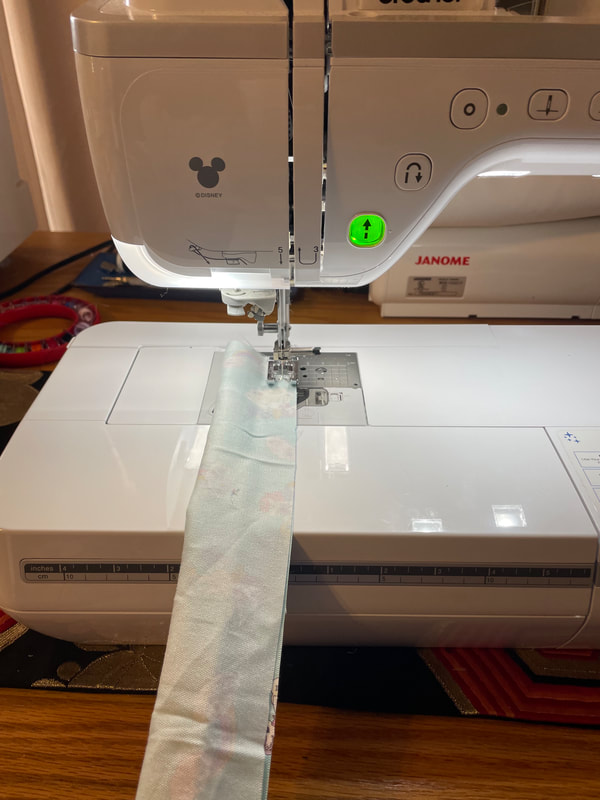
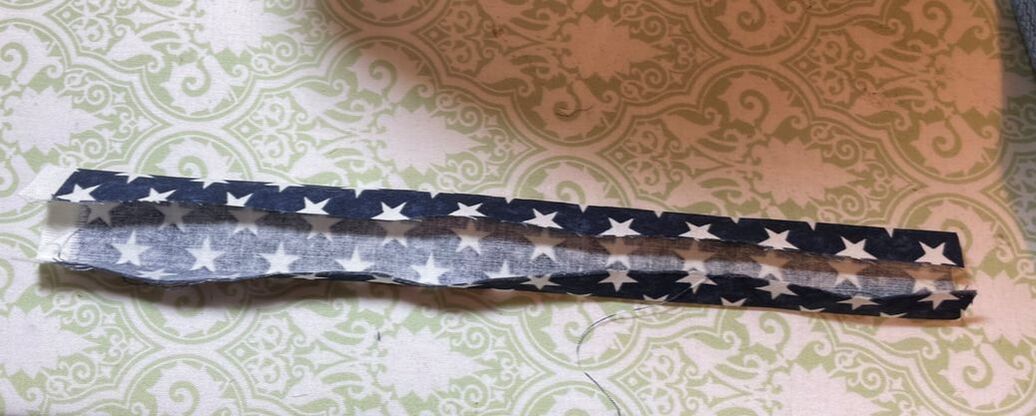
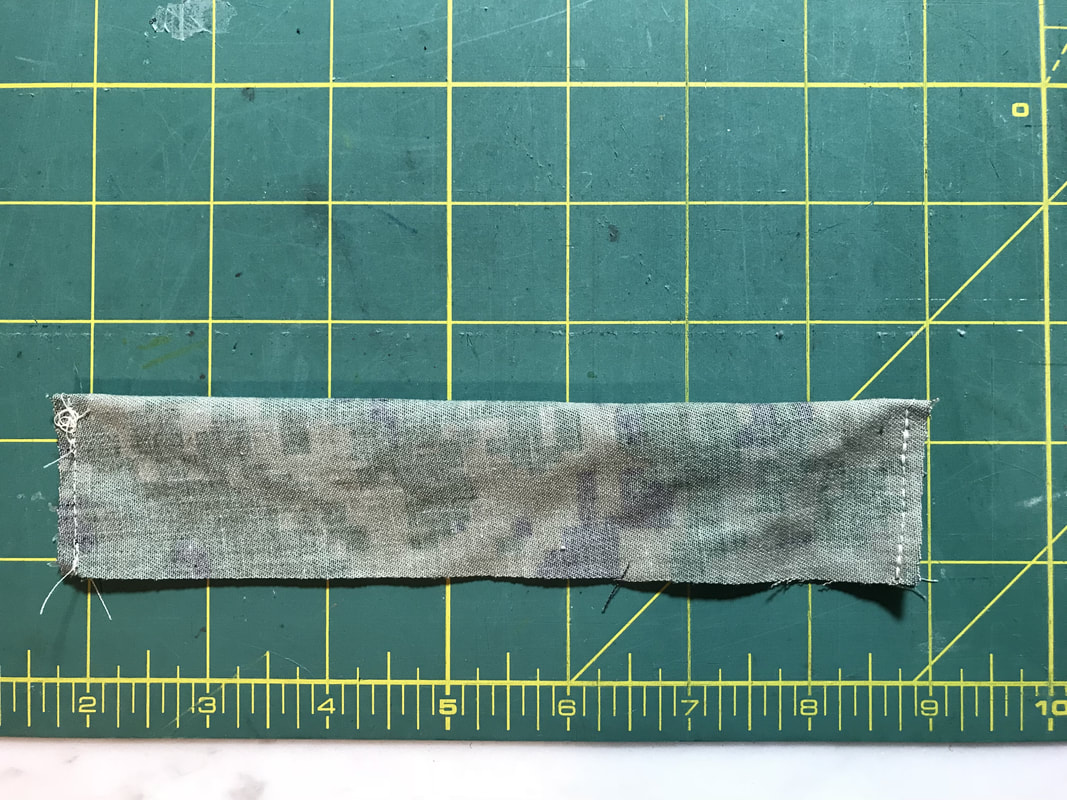
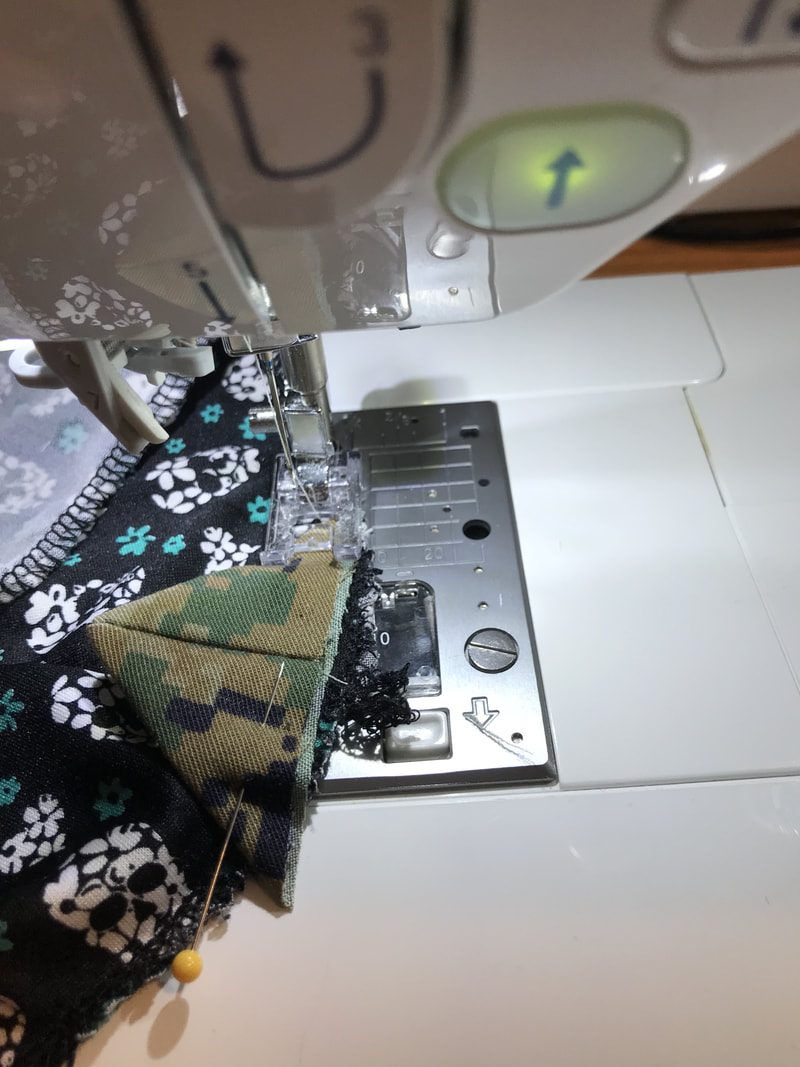
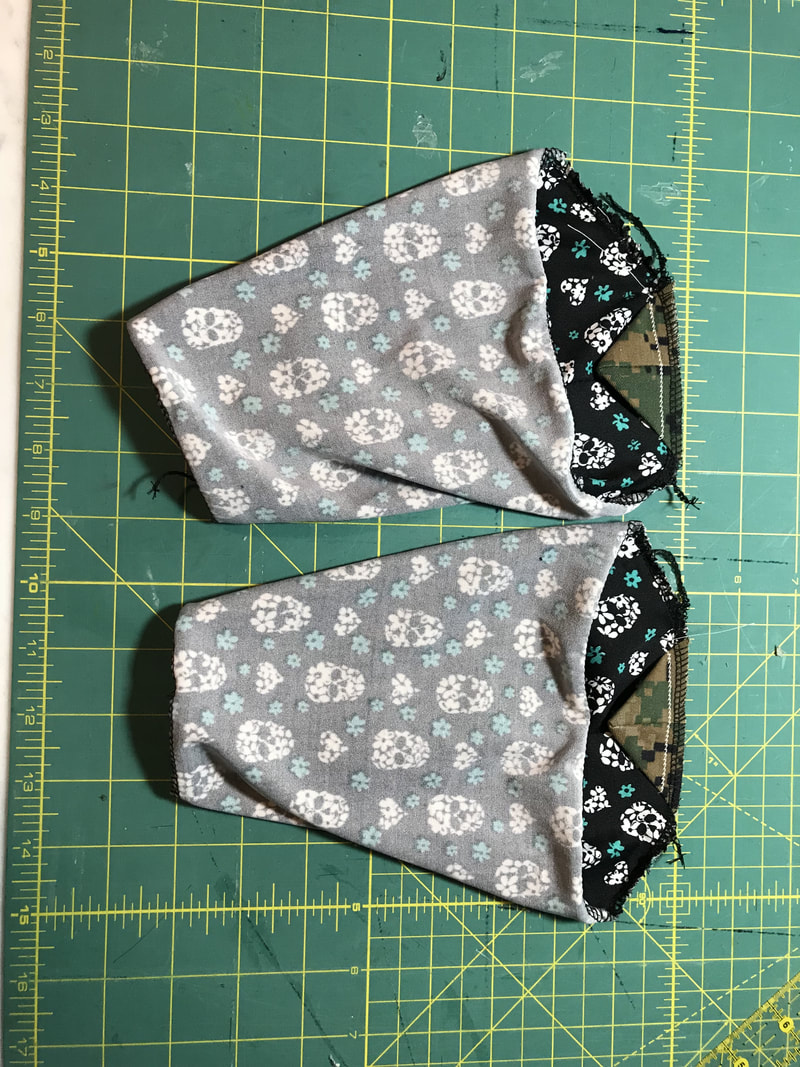
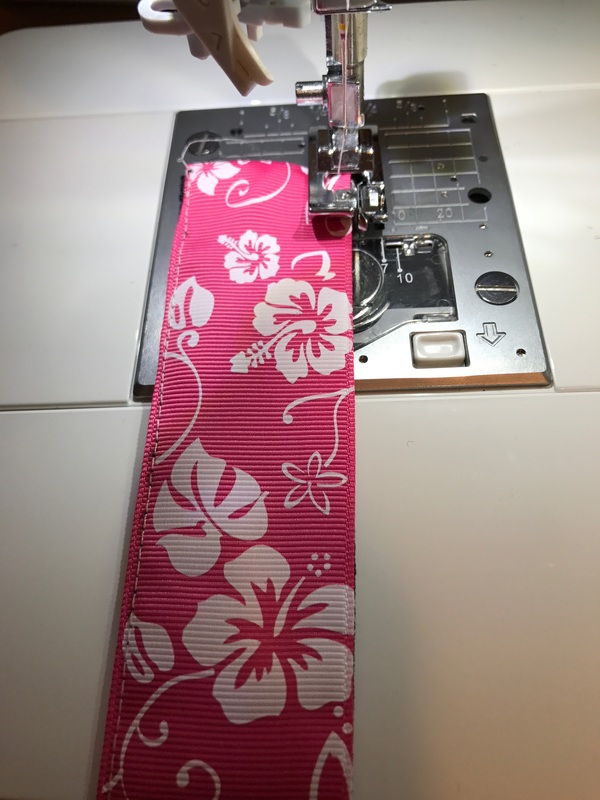
3. Fold the fabric in half, so it becomes 2in x18inches. Sew along the long side to make a long tube.
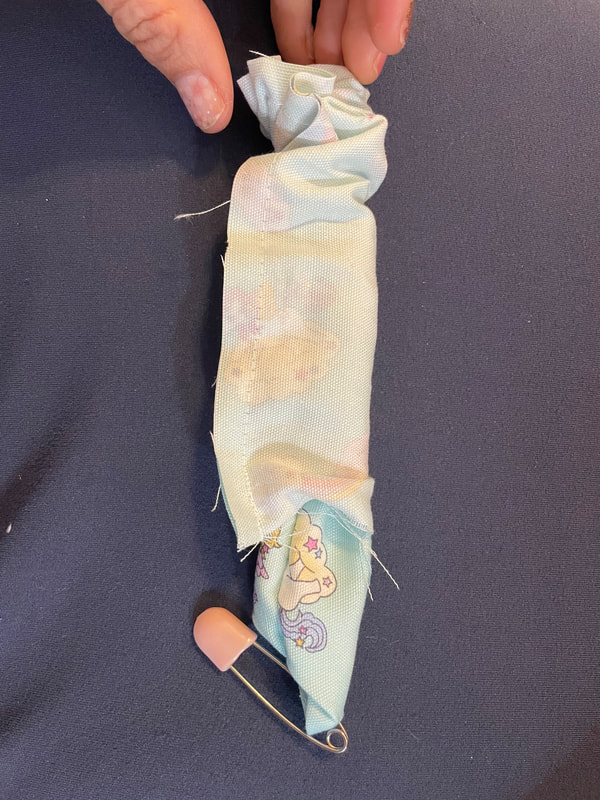
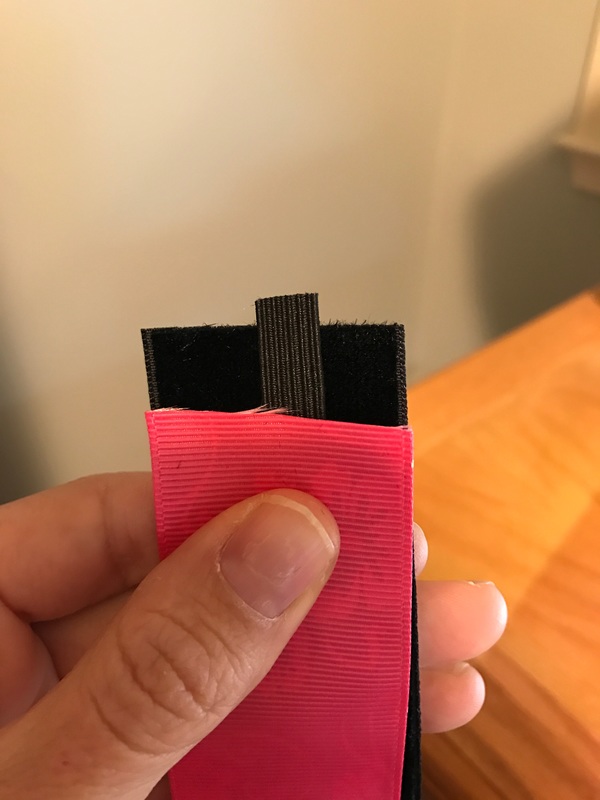
4. Turn inside out using the safety pin.
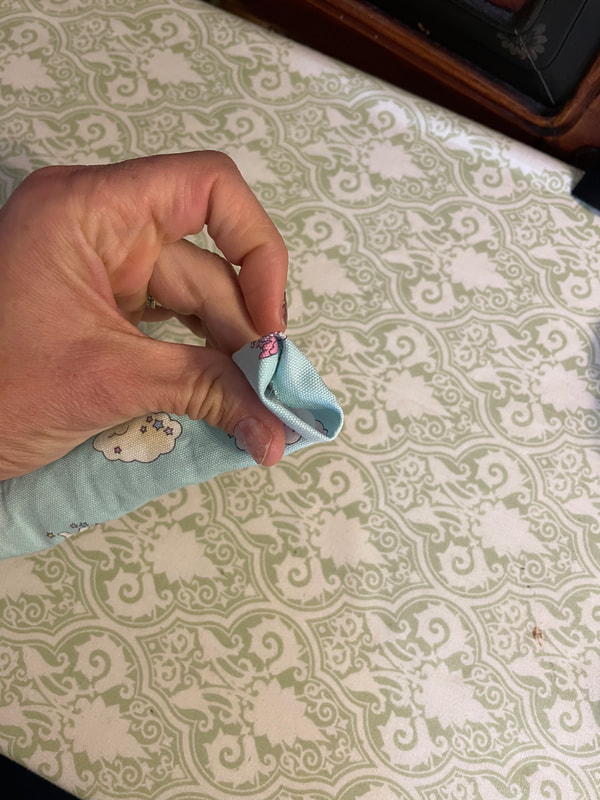
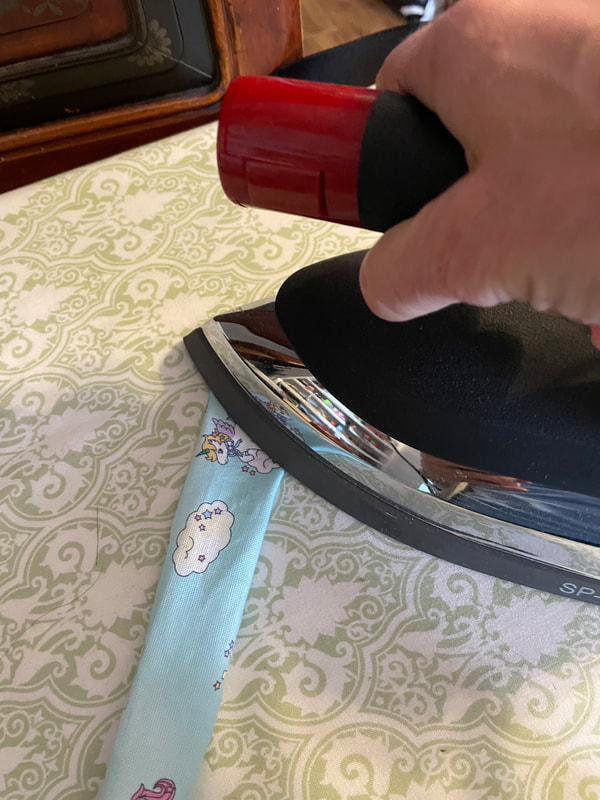
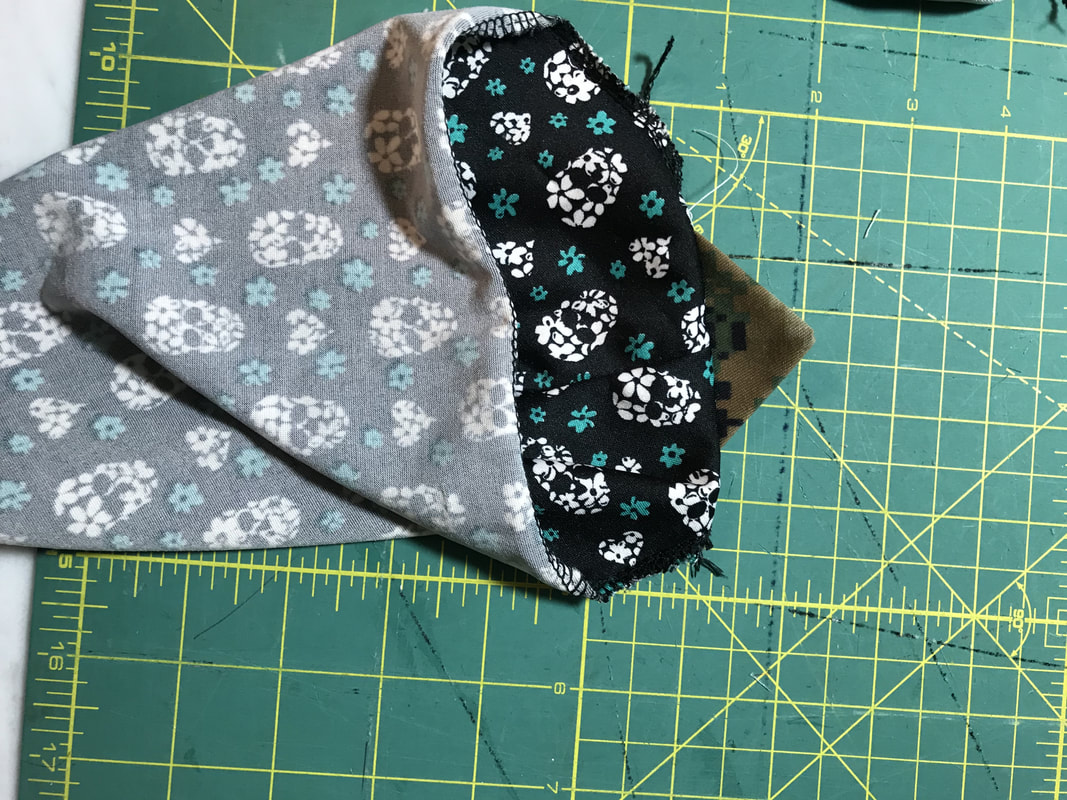
5. Fold one side of the fabric in by 1/4 of an inch. Iron the folded side.
 |  |
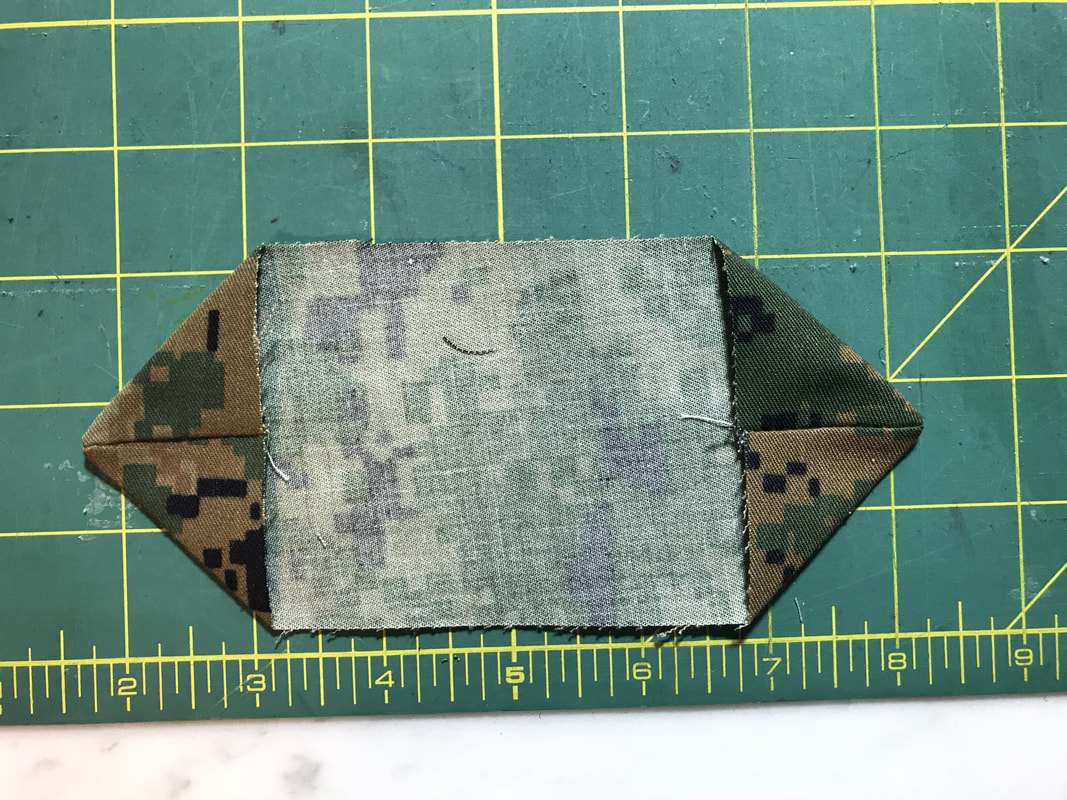
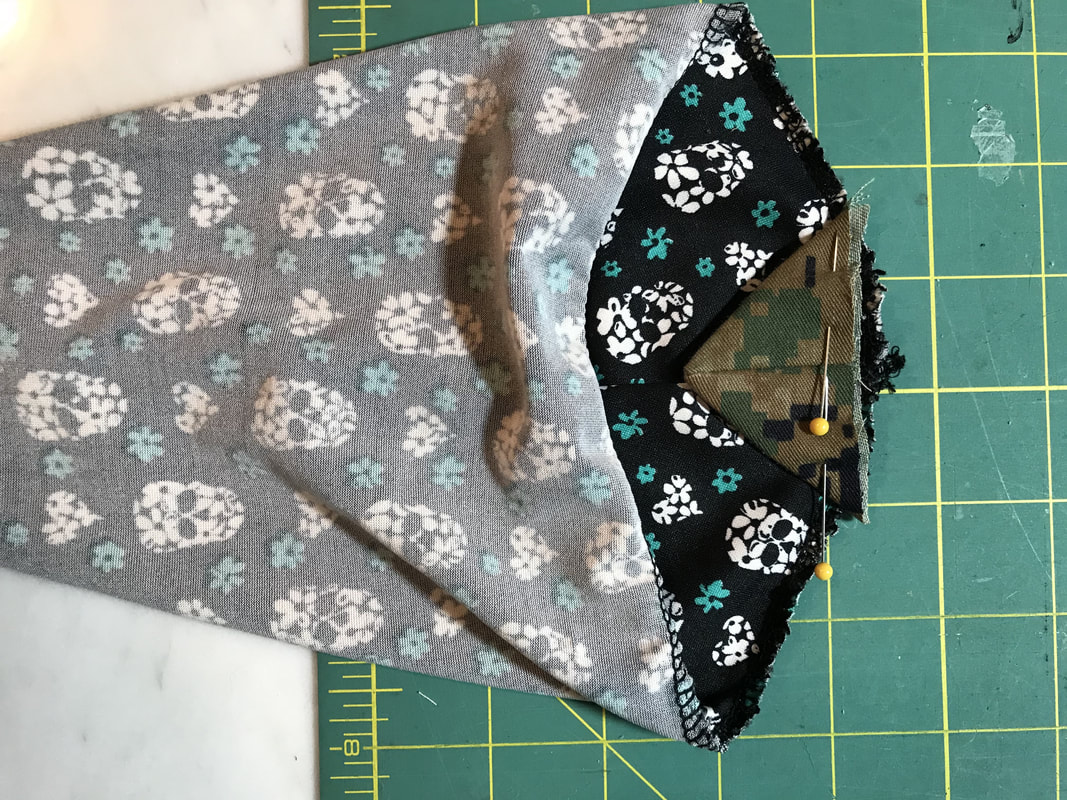
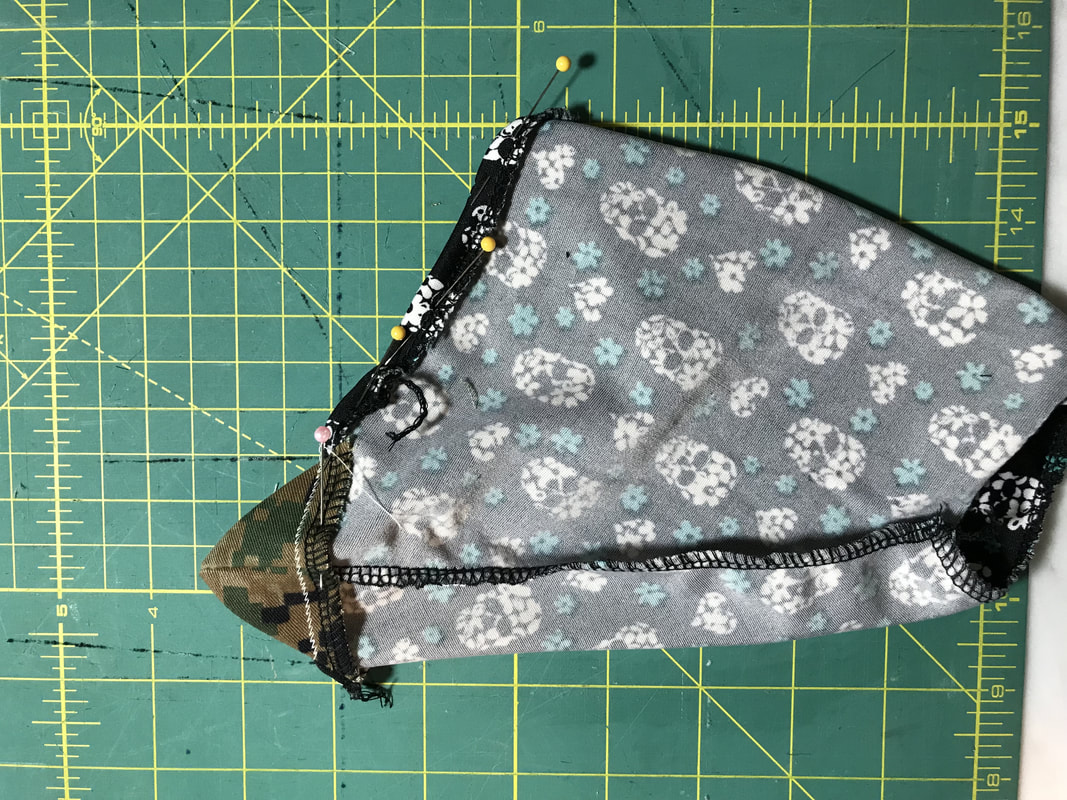
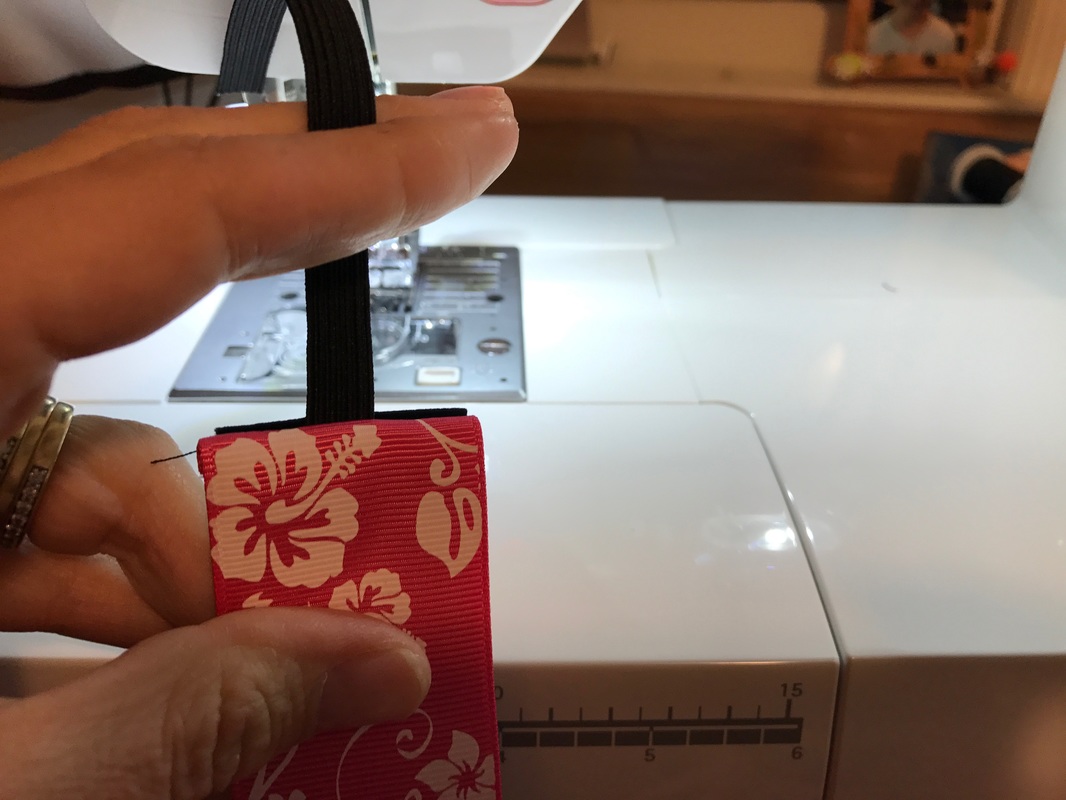
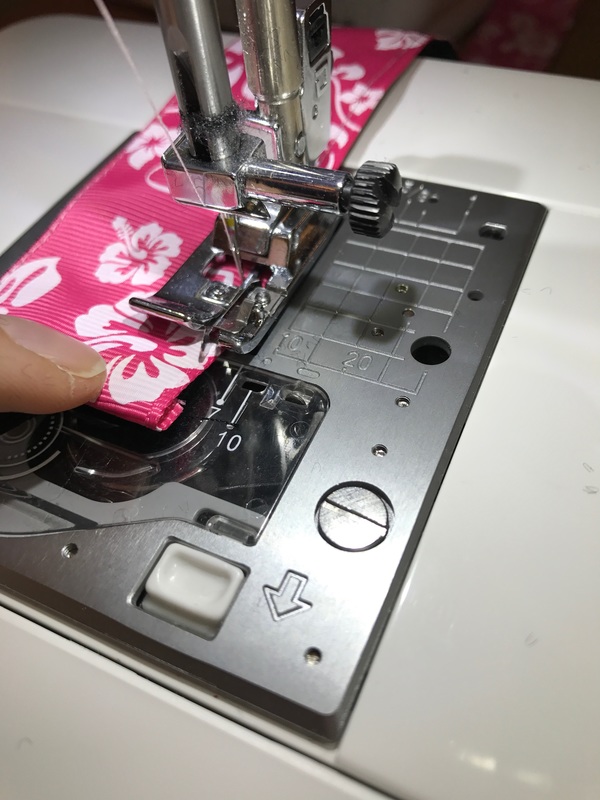
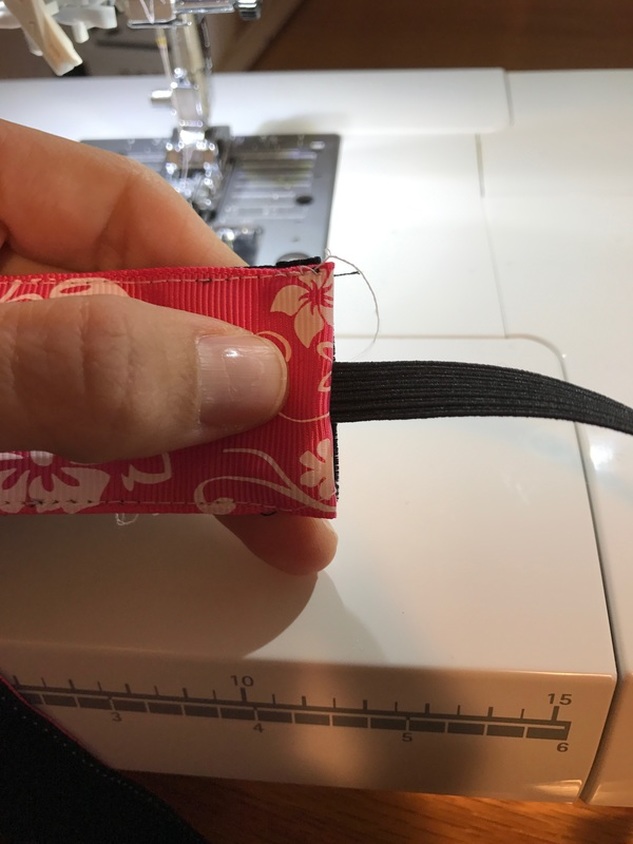
6. Pin the safety pin to one end of the elastic and fabric. Attach other safety pin to the other end of the elastic. Pass through to the other side of the fabric tube.


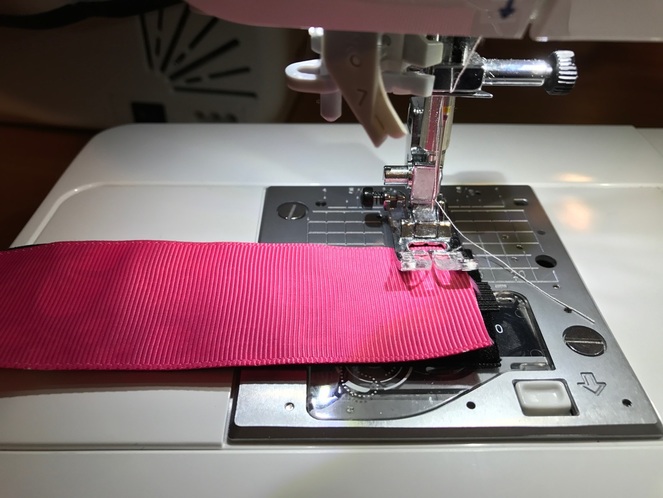
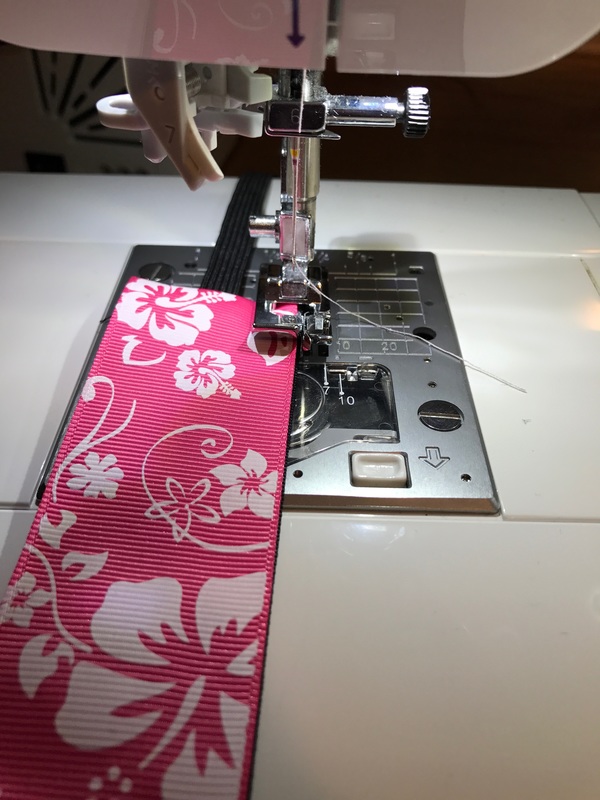
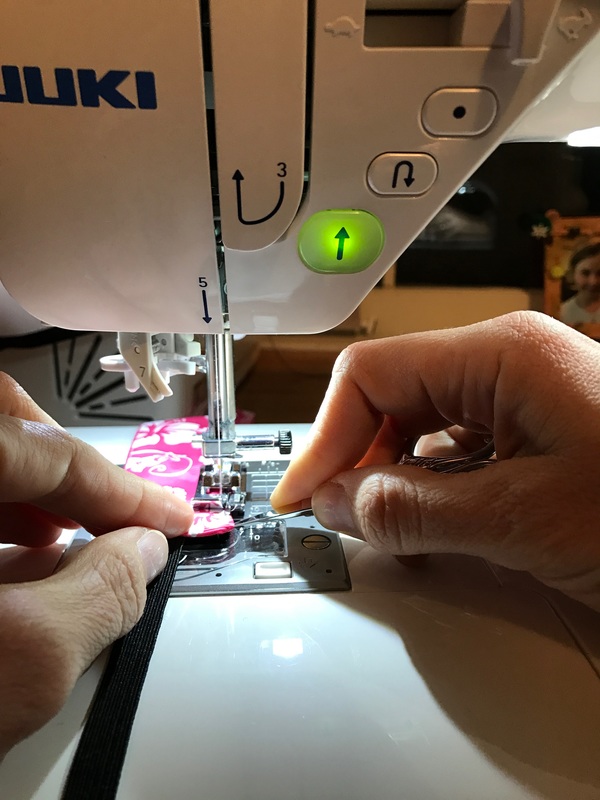
7. Stitch to elastic ends together. Sew back and forth along the elastic several times to secure.

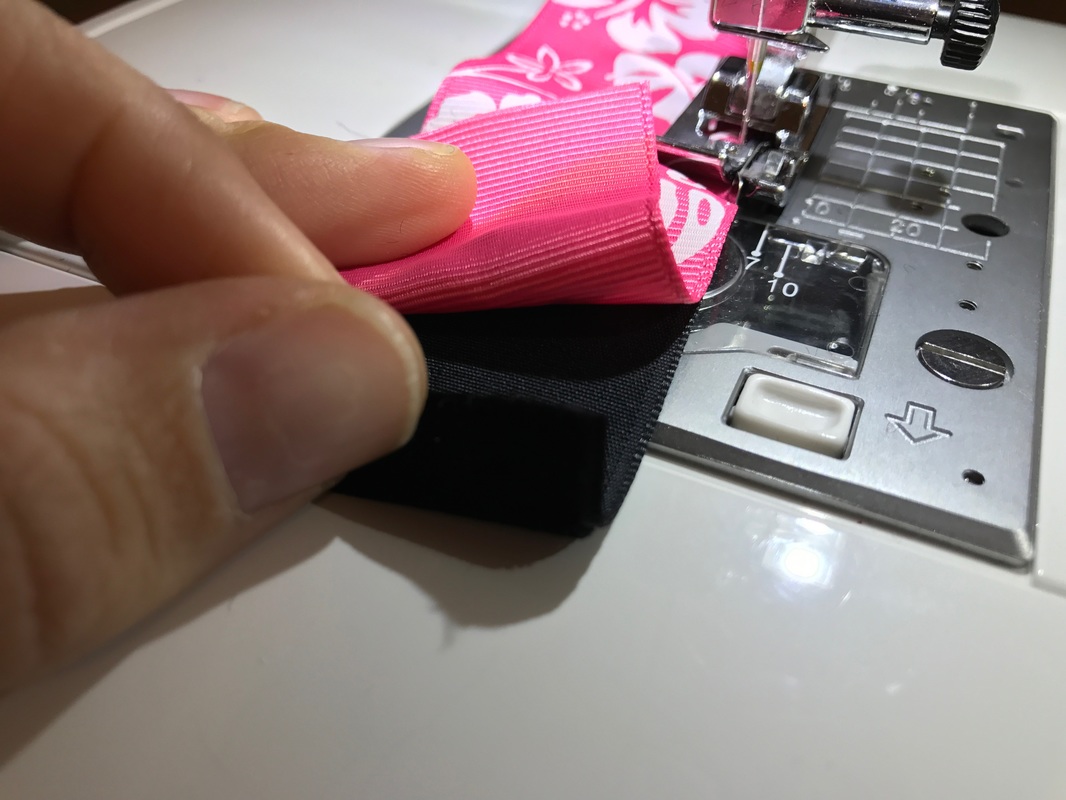
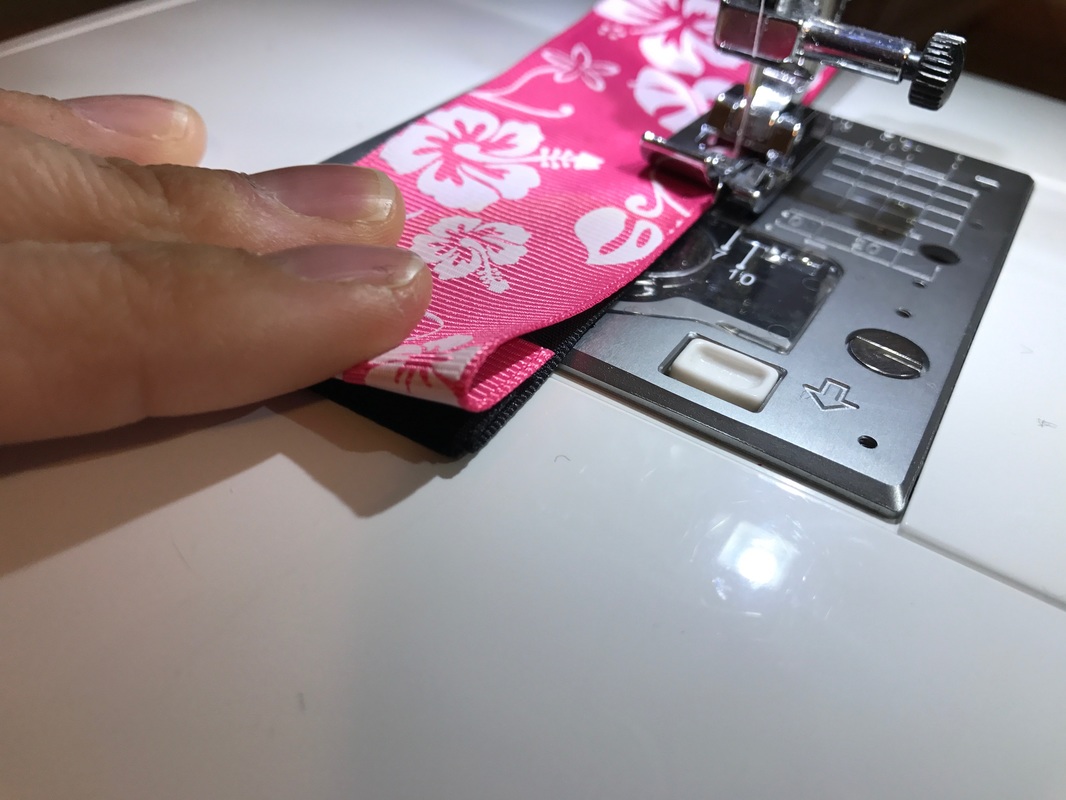
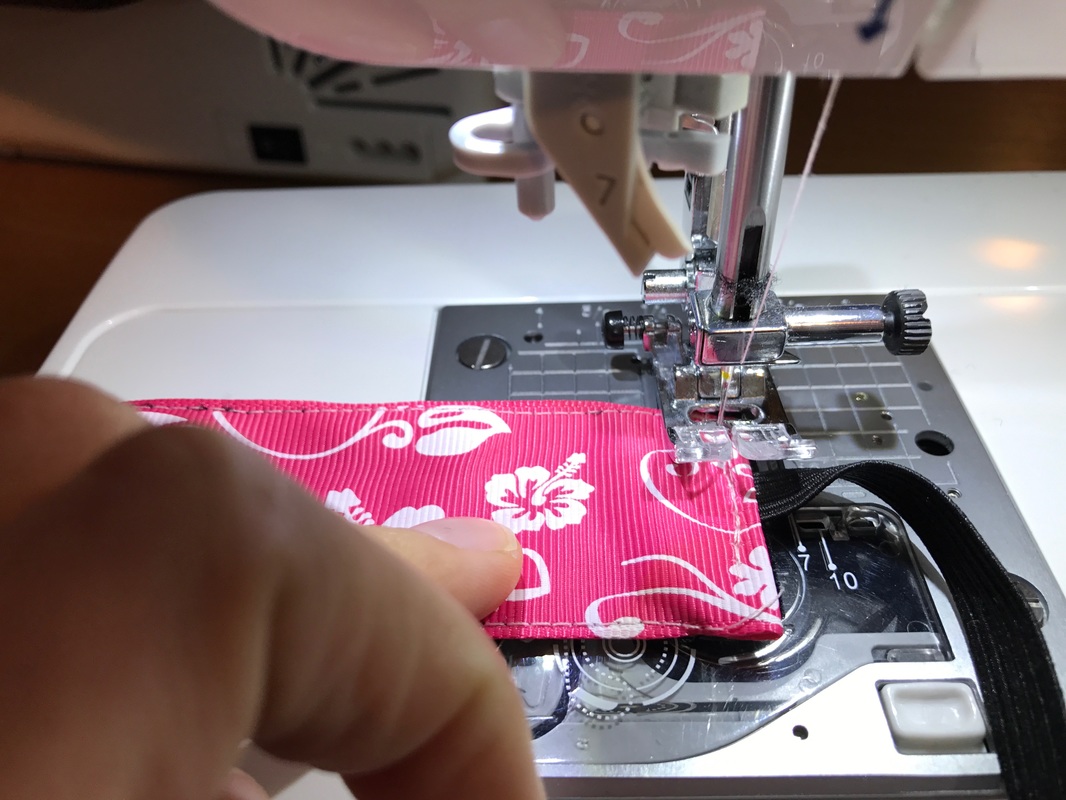
9. Sew along the edge to secure all pieces together.

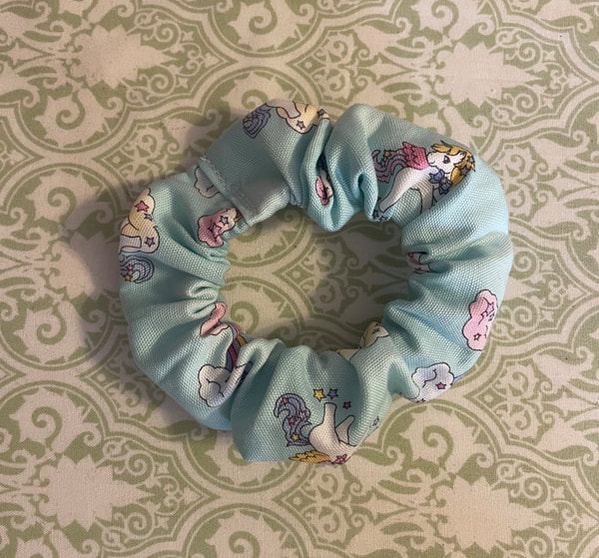
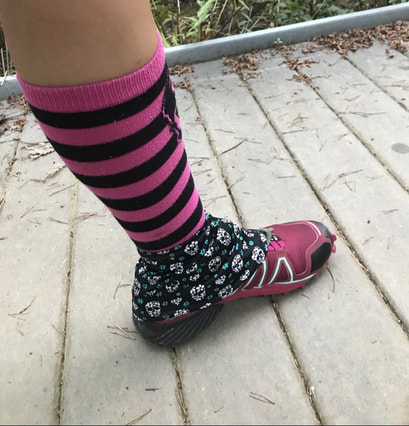
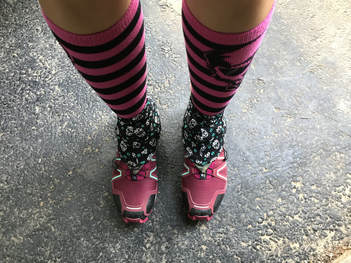
10. You’re done! Relax or repeat to make more for your Stroller Warrior friends!


 RSS Feed