by Kelly
Recently as I was preparing for a big race, I realized I didn't have a race bag to leave at the bag drop that met the following requirements: 1. Waterproof 2. Unique and easily identifiable and 3: Fit all of my stuff and 4. I wouldn't be horribly upset if it dissapeared. So, I decided to make one for myself that met all of my needs. I thought you might enjoy learning how to make your own race day backpack, so I've composed a tutorial for you. Please let me know if you have any questions. I am happy to help! I would also love to see your finished products, so feel free to post comments and photos below!
What you need:
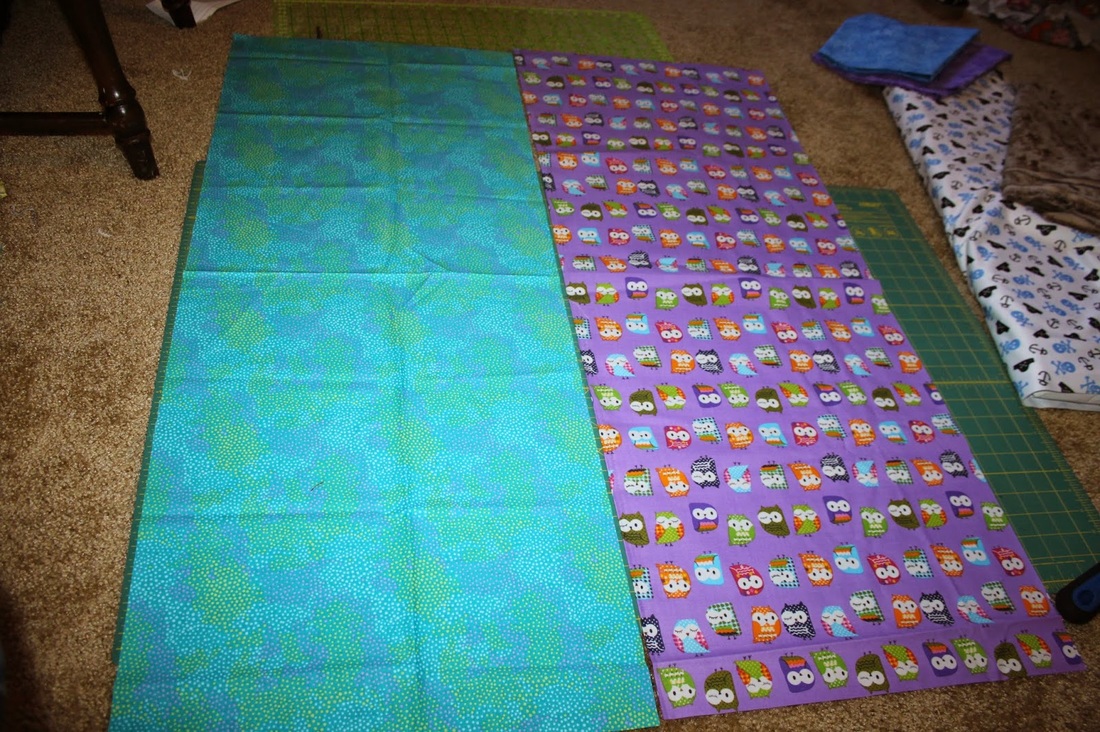
40 inches x 16 inches waterproof outer fabric (you can also use regular fabric)
40 inches x 16 inches inner lining fabric
4 yards of rope cut into two 2 yard segments (I ordered paracord online).
Recently as I was preparing for a big race, I realized I didn't have a race bag to leave at the bag drop that met the following requirements: 1. Waterproof 2. Unique and easily identifiable and 3: Fit all of my stuff and 4. I wouldn't be horribly upset if it dissapeared. So, I decided to make one for myself that met all of my needs. I thought you might enjoy learning how to make your own race day backpack, so I've composed a tutorial for you. Please let me know if you have any questions. I am happy to help! I would also love to see your finished products, so feel free to post comments and photos below!
What you need:
40 inches x 16 inches waterproof outer fabric (you can also use regular fabric)
40 inches x 16 inches inner lining fabric
4 yards of rope cut into two 2 yard segments (I ordered paracord online).
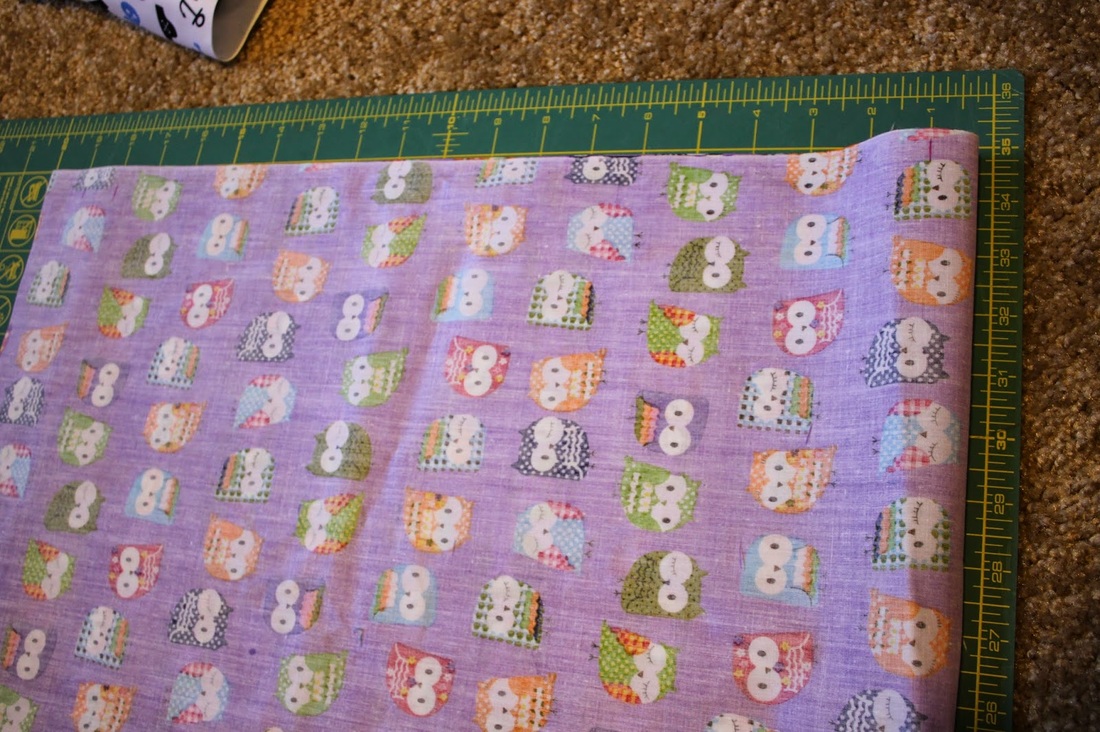
1. Take your 40x15 water proof outer fabric and fold it so that right sides are together.
2. 5/8 of the way in from the side mark 1 in down and 2 in down from the top. Also mark 1 in up from the bottom. Do this for both sides. Pin.
2. 5/8 of the way in from the side mark 1 in down and 2 in down from the top. Also mark 1 in up from the bottom. Do this for both sides. Pin.
3. Sew from the top (back stitching at the top) to the first mark. Back stitch at the first mark. Stop sewing and move your foot to the second mark. Back stitch. Sew all of the way down until the last mark. Back stitch. Repeat for other side. ***I recommend using a walking foot if you are working with waterproof fabric.
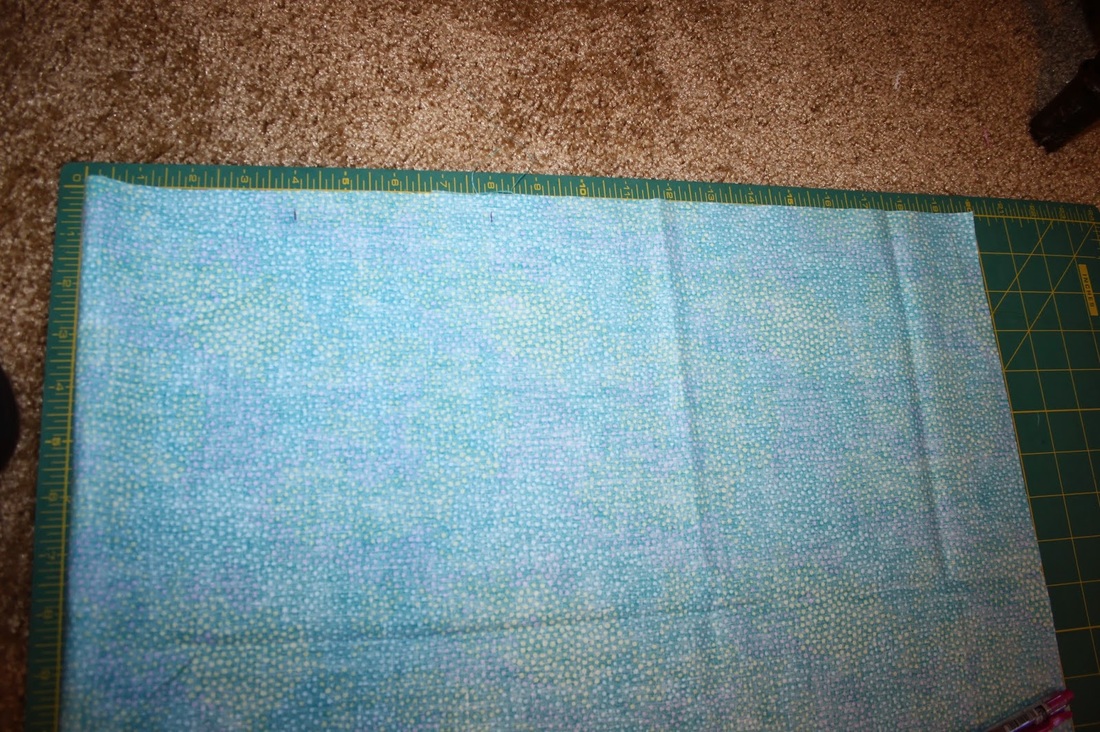
4. Take your 40x15 inner lining fabric and fold it so right sides are together. Mark 4 inches on one side. Pin to keep from moving.
4. Take your 40x15 inner lining fabric and fold it so right sides are together. Mark 4 inches on one side. Pin to keep from moving.
Sew all of the way down one side (backstitching at the top and the bottom). Next you will work on the side where you marked 4 inches off. Sew from the top of the fabric to your mark. Back stitch. Jump the 4 inches. Backstitch at the bottom of your 4 inch mark and sew to the bottom of your fabric, back stitch at the bottom.
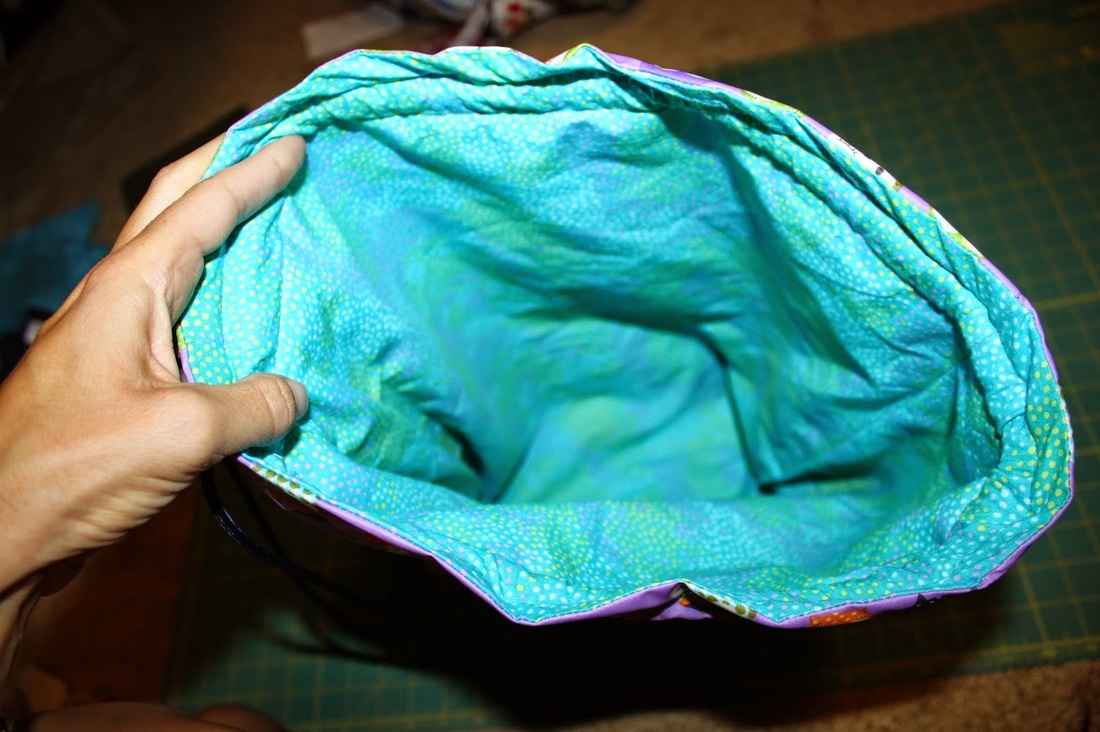
5. Iron seams open on your inner fabric, and outer fabric
6. Turn outer fabric so the right side is facing out. Put it into the inner fabric (which is still wrong side facing out)
7. Line up and pin seams.
8. Sew all of the way around the top edge using a 5/8 seam allowance.
9. Using the 4 inch opening you left on the side of the inner fabric turn the fabric right side out.
10. Next match up the corners and iron around the top of the bag.
11. Now you are going to sew two lines to make the casing. The casing is what the rope will go through. Sew around the fabric (so starting and ending at the same point) from where the top of the hole and from the bottom of the hole. If you are using a waterproof fabric you will want to use a walking foot for this part if you have one.
12. Take one piece of the rope, attach the end to a pin and pull it through the casing to the other side, then keep going and exit out of the same hole you started at.
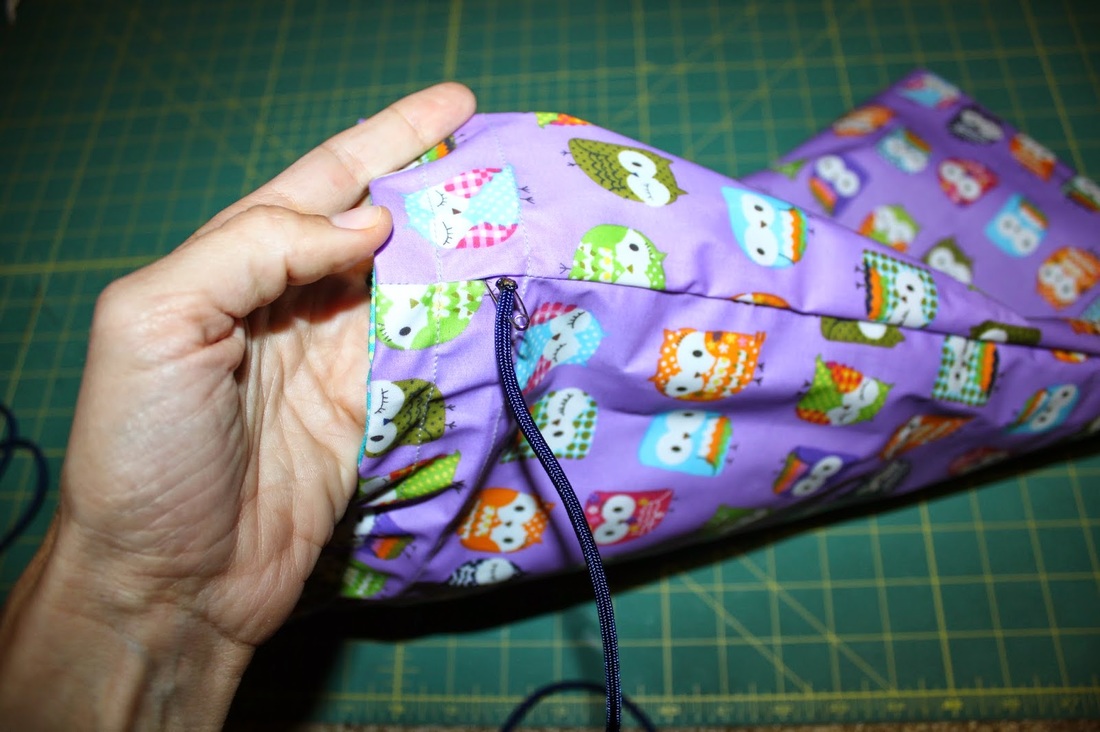
13. Take the second piece of the rope, starting at the other end of the casing, attach the end of the rope to a pin and pull it through the casing to the other side, then keep going and exit out of the same hole you started at.

14. Pin two ends of the rope (from the same side) together. Put them through the hole of the outer layer, which is located at the bottom of the side. Pin in place.
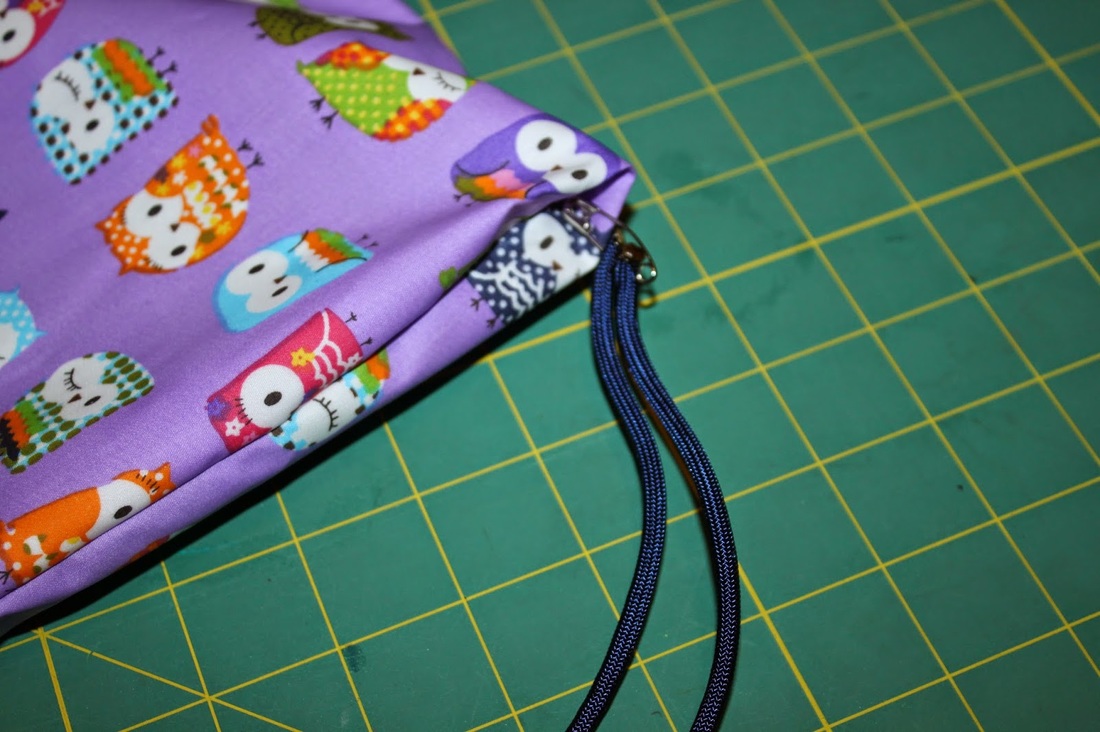
15. Pull the section you just put the rope through out of the hole you left in the inner lining fabric

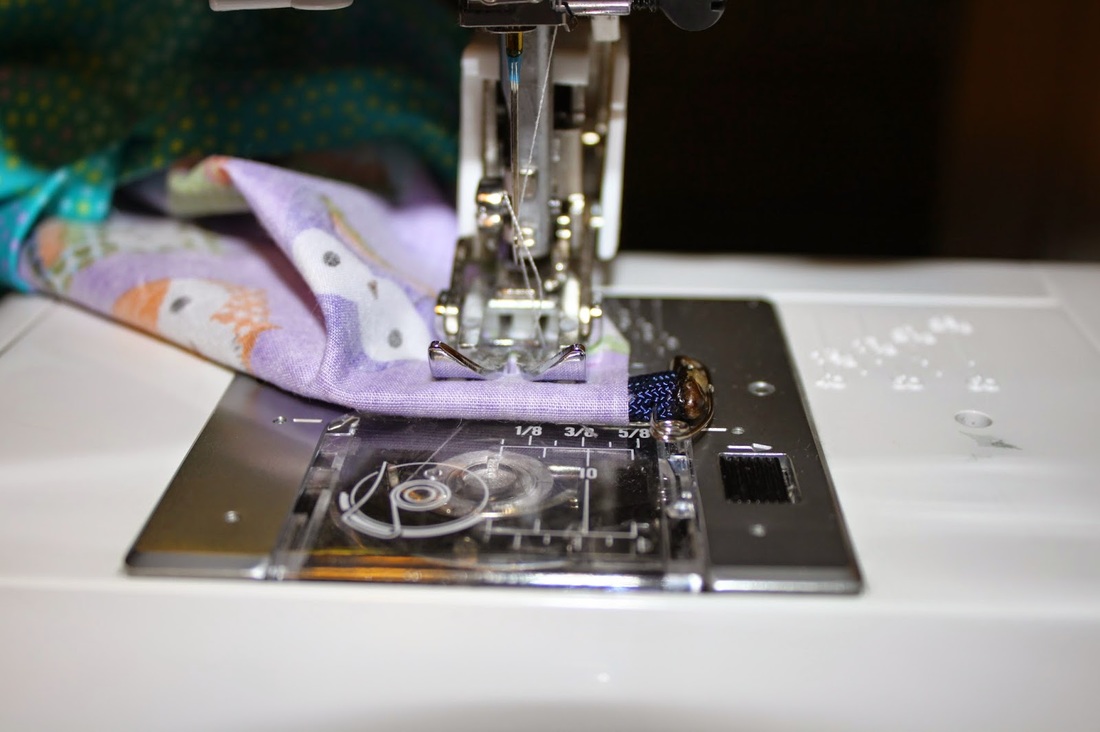
16. Continue the seam and sew over the ropes to close off the hole and secure ropes in place. Go back and forth over the ropes a few times to make sure they stay secure.
17. Repeat steps 14-16 for the other side.
18. Sew the hole in the inner lining closed. You can sew it closed by hand using a blind stitch or you can sew it closed on a machine. The choice is up to you!
18. Sew the hole in the inner lining closed. You can sew it closed by hand using a blind stitch or you can sew it closed on a machine. The choice is up to you!

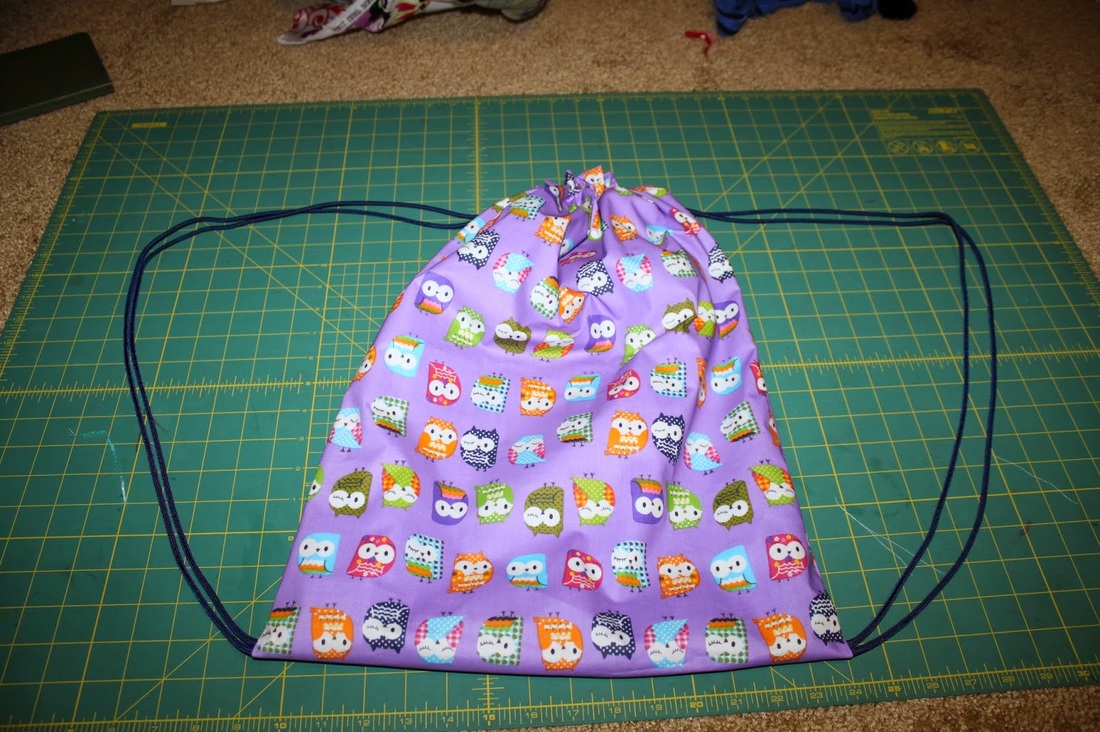
19. Relax and enjoy your new race bag!
 |  |  |
 RSS Feed