Christmas is almost here, are you ready yet?! In case you are still searching for gift ideas, I have a great stocking stuffer idea for you that is sure to please!
My quest for the perfect headband intensified when I became a runner. I hated wispy flyaway hairs always in my face! However, I never could get headbands to stay on my head. Enter the perfect solution (what I’m about to teach you how to make!):
These headbands are perfect because of the velvet on the backside. The velvet grips and sticks to your hair –but without pulling any hair out!
What you need:
Sewing machine
Velvet ribbon
Decorative ribbon
3/8 inch elastic
Black thread for the bobbin
Spool of thread to match the decorative ribbon
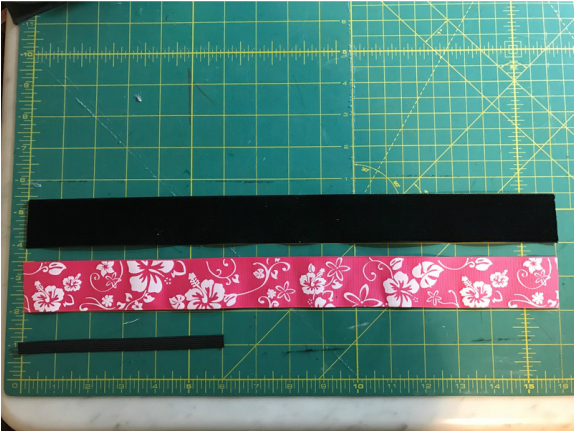
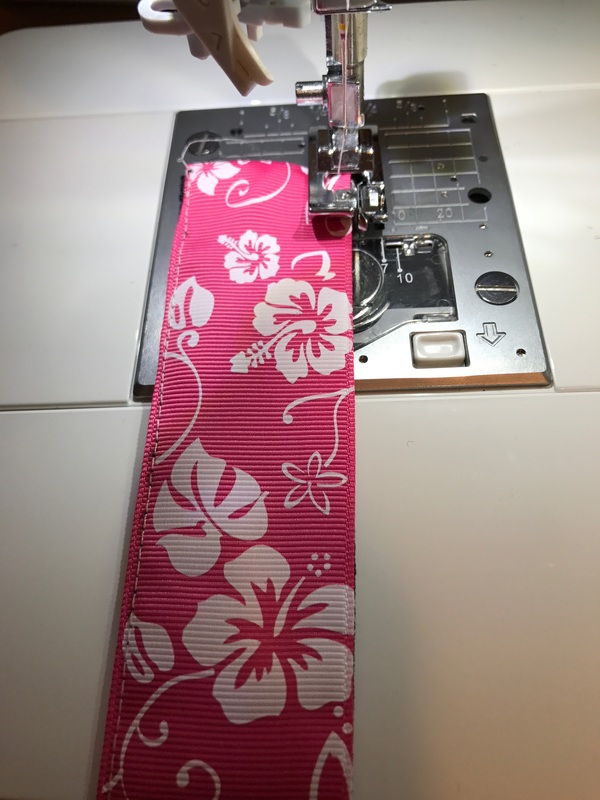
For this tutorial I used 1.5 inch ribbon but you can use just about any size as long as both the velvet and decorative ribbons are the same size.
Step 1:
Cut 16 inches of velvet ribbon
Cut 16 inches of decorative ribbon
Cut 6 inches of elastic
My quest for the perfect headband intensified when I became a runner. I hated wispy flyaway hairs always in my face! However, I never could get headbands to stay on my head. Enter the perfect solution (what I’m about to teach you how to make!):
These headbands are perfect because of the velvet on the backside. The velvet grips and sticks to your hair –but without pulling any hair out!
What you need:
Sewing machine
Velvet ribbon
Decorative ribbon
3/8 inch elastic
Black thread for the bobbin
Spool of thread to match the decorative ribbon
For this tutorial I used 1.5 inch ribbon but you can use just about any size as long as both the velvet and decorative ribbons are the same size.
Step 1:
Cut 16 inches of velvet ribbon
Cut 16 inches of decorative ribbon
Cut 6 inches of elastic
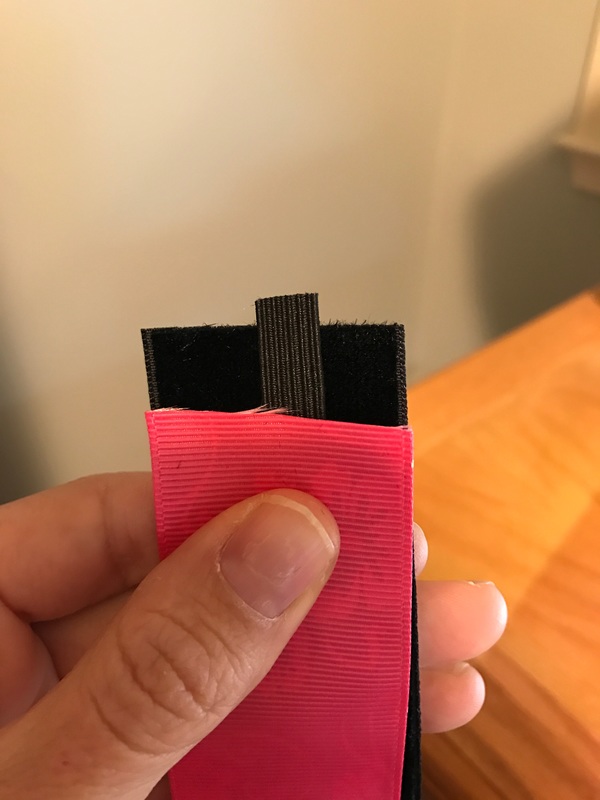
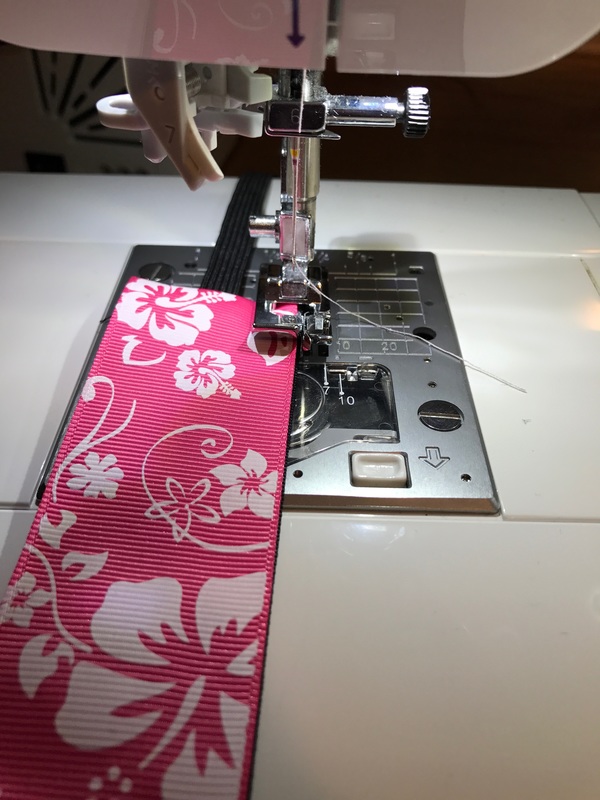
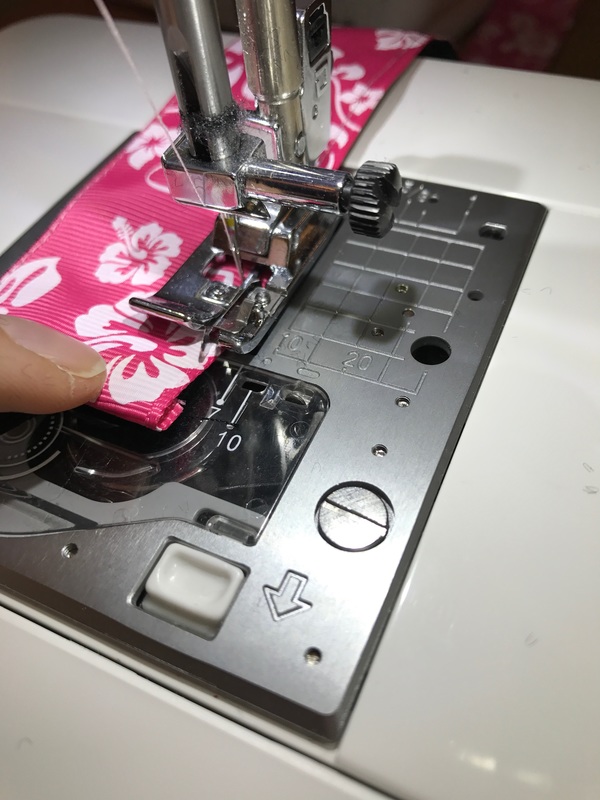
Step 2:
Layer your materials so they are right sides together with the elastic between them. Which means you'll layer it so that it is: velvet side of ribbon up, elastic, decorative side of ribbon down.
Layer your materials so they are right sides together with the elastic between them. Which means you'll layer it so that it is: velvet side of ribbon up, elastic, decorative side of ribbon down.
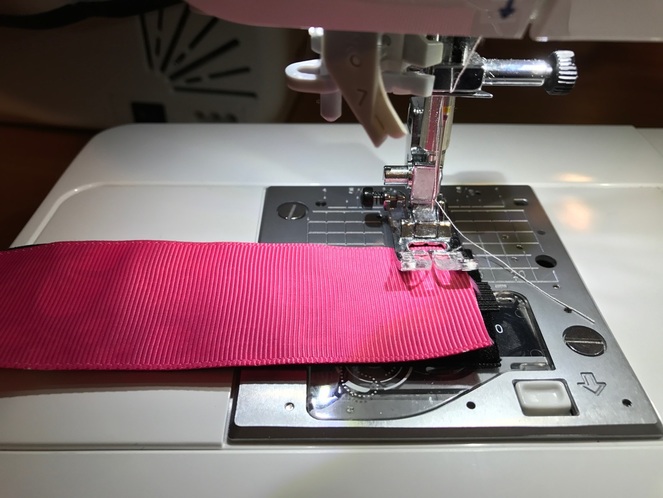
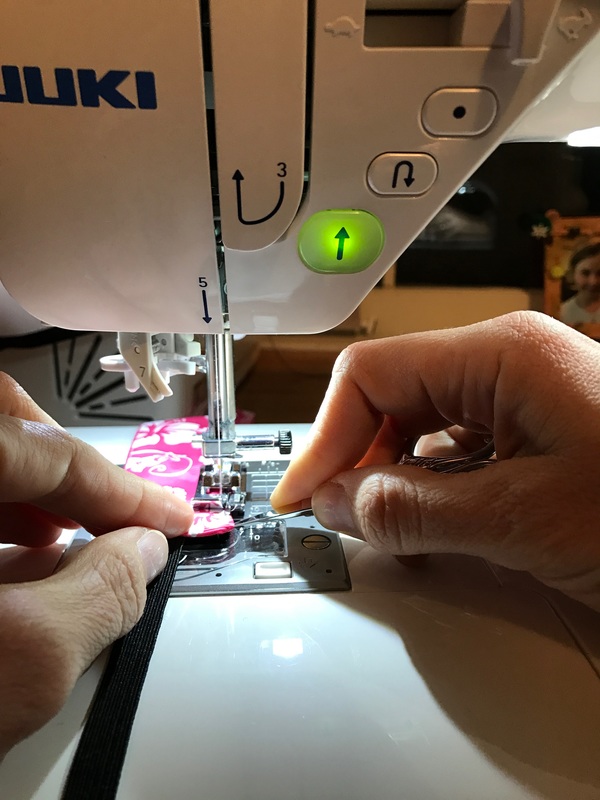
Step 3:
Make sure you have black bobbin thread in the bobbin case and a decorative color threaded on the top of your machine.
Step 4:
Line the ribbons up so they match, let the elastic hang out about 1/4-1/2 of an inch. Sew forward, back, and then forward over all three to lock them together and in place.
Make sure you have black bobbin thread in the bobbin case and a decorative color threaded on the top of your machine.
Step 4:
Line the ribbons up so they match, let the elastic hang out about 1/4-1/2 of an inch. Sew forward, back, and then forward over all three to lock them together and in place.
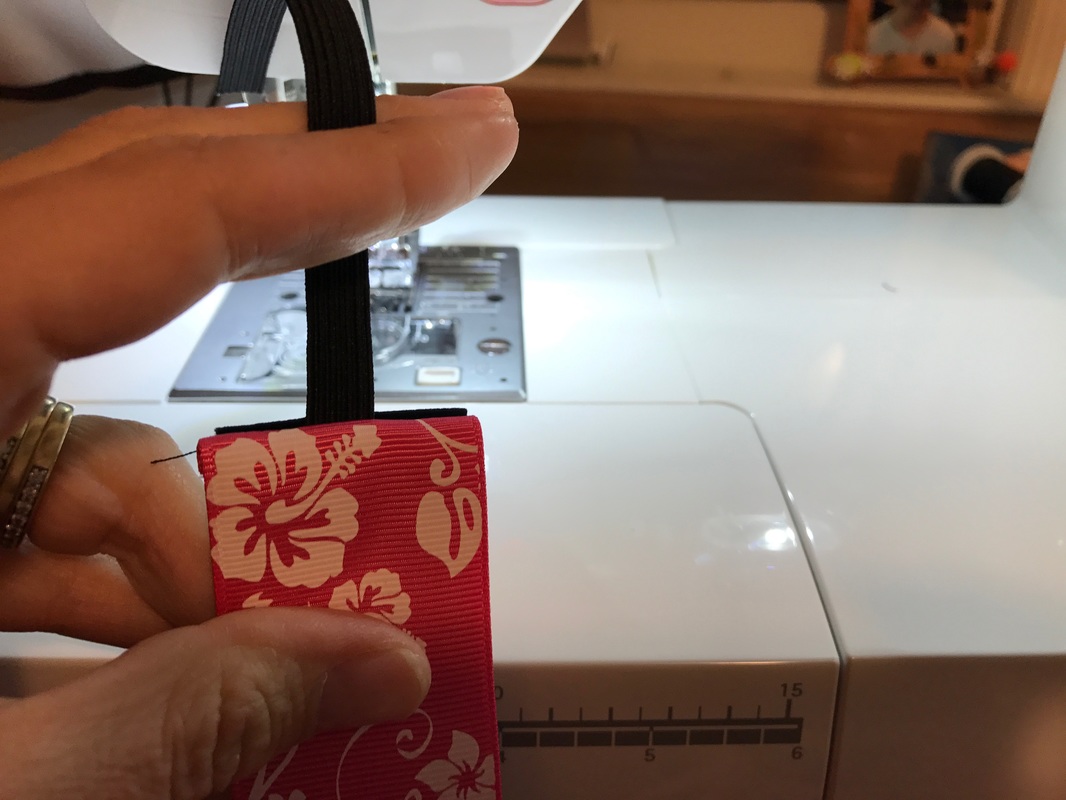
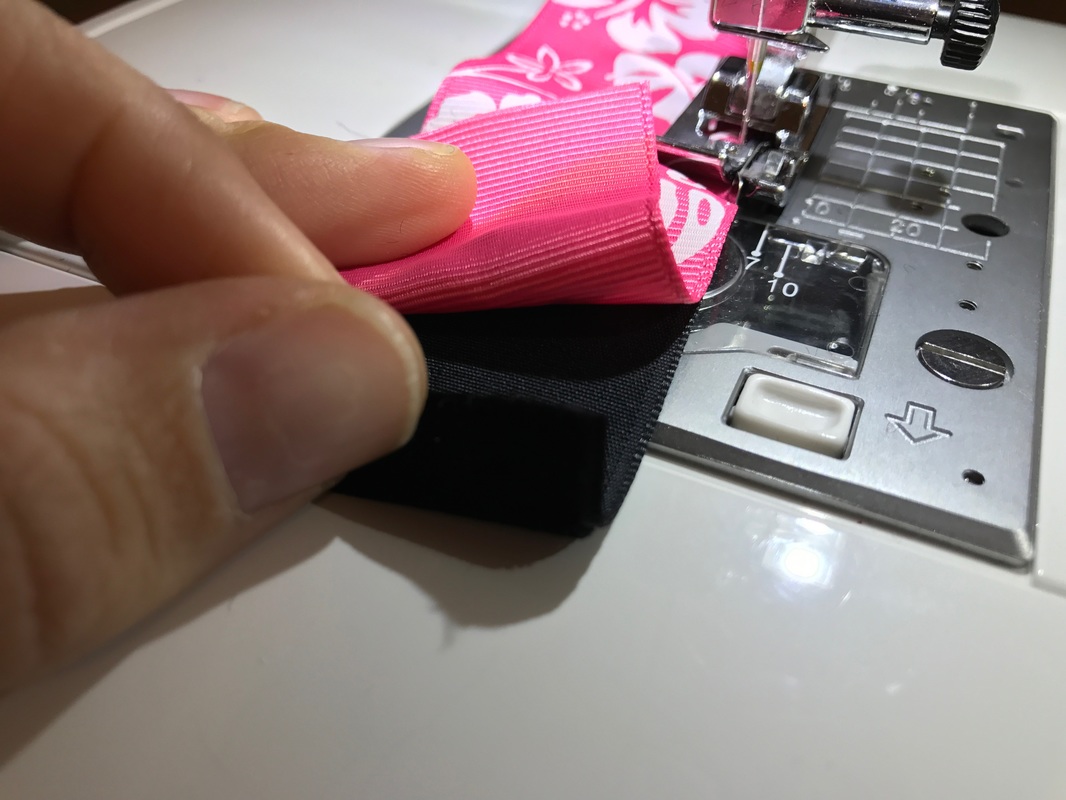
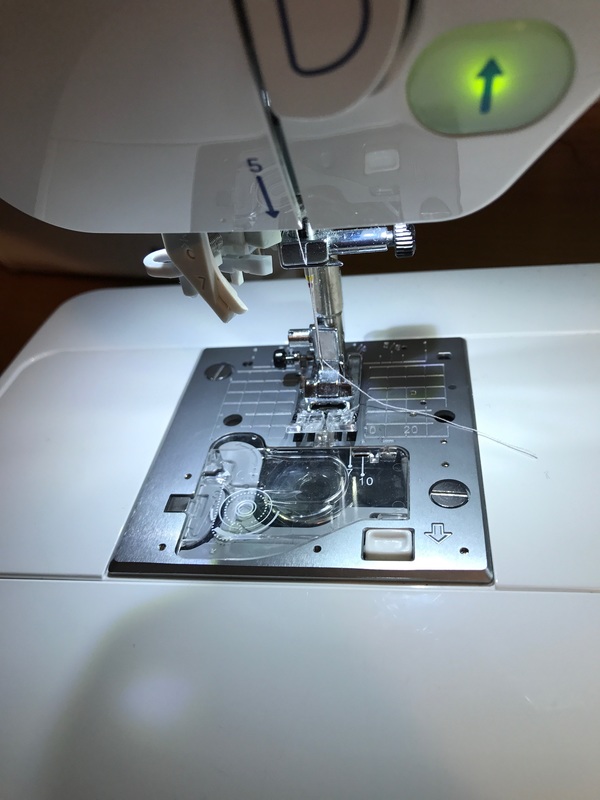
Step 5:
Flip the ribbons to the other side so they are now right, side out. The elastic and the ribbons should be pointing in opposite directions now.
Flip the ribbons to the other side so they are now right, side out. The elastic and the ribbons should be pointing in opposite directions now.
Time to switch your feet! Much like how trail shoes are better for trail running, and flip flops are better for beaches, your sewing machine also has certain feet that are best for the job. Most sewing machines come with these feet so look around before you rush out to buy something new.
Step 6:
Switch the foot on your machine to a guide foot. I have a few different types, any one will do. The one in the left of the photo you can use the dial to scoot the guiding edge in and out to a preferred distance. The one on the right has a pre-set distance from the needle that cannot be changed.

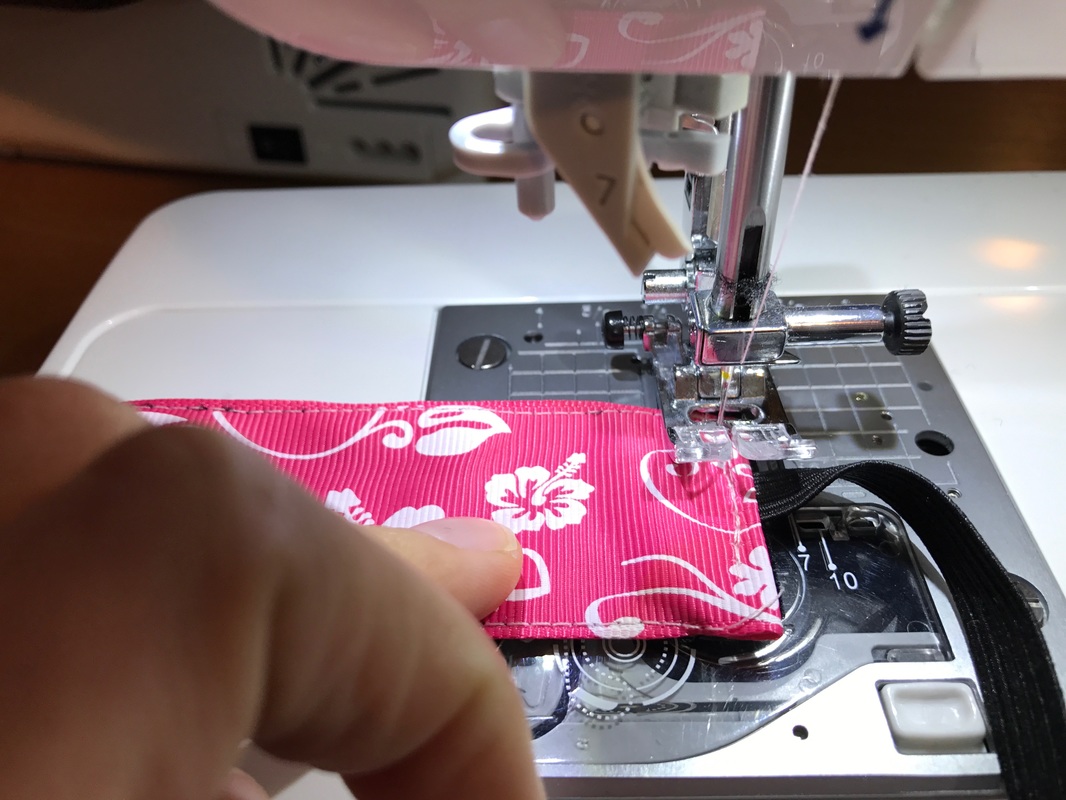
Step 7:
Adjust your stitch length a little longer. I usually set mine to a 3.
Step 8:
Using your guiding foot sew from the elastic side all of the way down the ribbon. Place the black velvet side down and the decorative side up. This will ensure the black bobbin thread goes on the black velvet side and the matching decorative thread will be on the top. Be sure to keep the two ribbons stacked on top of each other. Sew in a straight line down the right side.
Step 9:
Stop sewing about an inch and a half before the end of the ribbons and fold the bottom ribbon up about a half an inch, and the top ribbon down about a half an inch.
Stop sewing about an inch and a half before the end of the ribbons and fold the bottom ribbon up about a half an inch, and the top ribbon down about a half an inch.
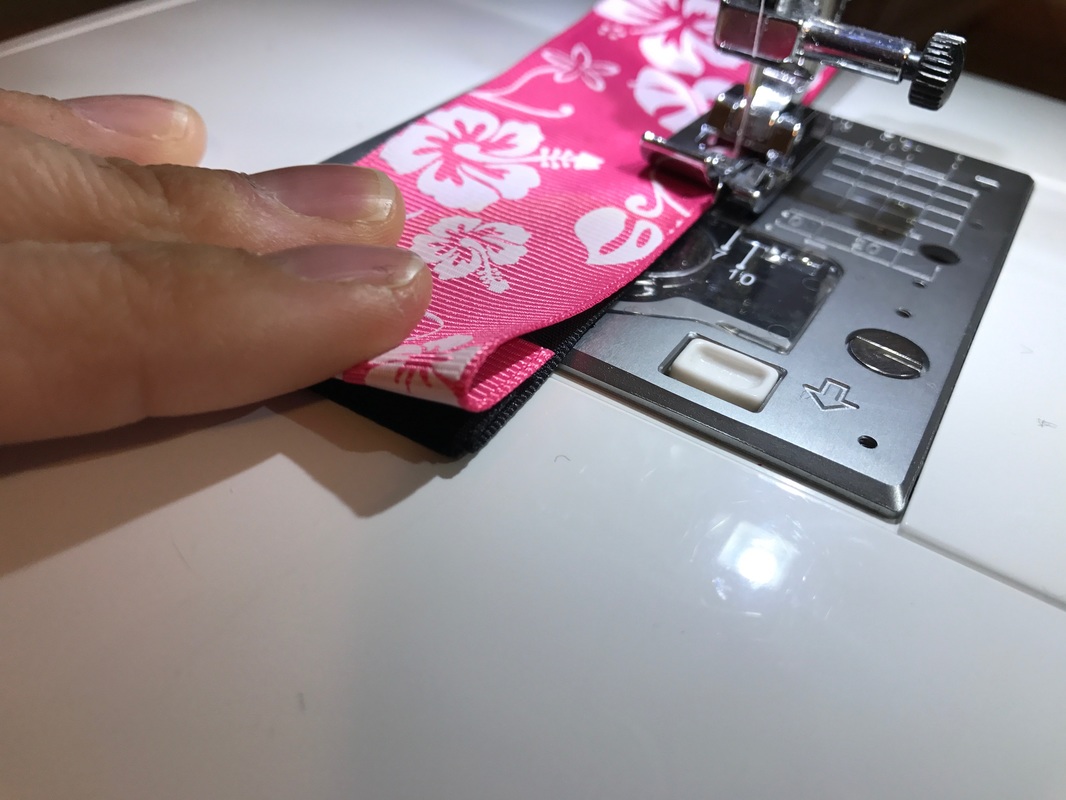
Step 10:
Once you've lined them up continue sewing off the end of the ribbons.
Once you've lined them up continue sewing off the end of the ribbons.
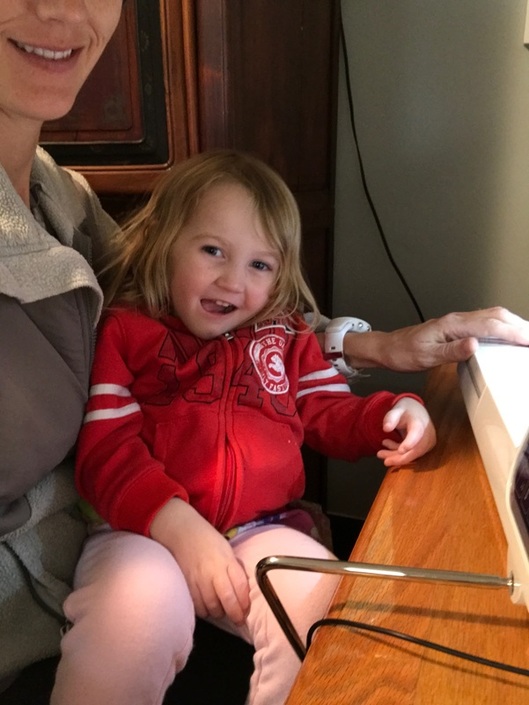
Now stop, per request of your Mini Warrior helper in order to take a photo of HER.
Step 11:
Using the guiding edge foot sew down the other side of the ribbon just like you did the first side.
Using the guiding edge foot sew down the other side of the ribbon just like you did the first side.
Sometimes the ends that fray easily will try to poke out the sides. If this is happening to you, stop sewing and use a pin or a pair of small scisors to tuck them under the ribbon.
Like this. (Photo courtesy of my mini warrior!)
Step 12:
Change your foot back to the regular foot you started with!
Change your foot back to the regular foot you started with!
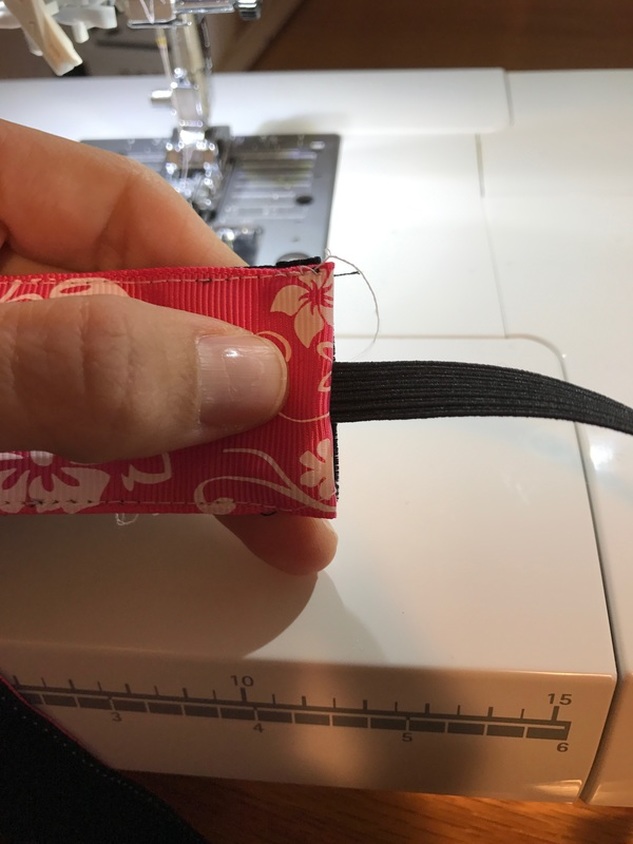
Step 13:
Take the end of the elastic and insert it in between the decorative and velvet ribbons about 1/2 of an inch.
Take the end of the elastic and insert it in between the decorative and velvet ribbons about 1/2 of an inch.
Step 14:
Sew back and forth 5 times to lock the elastic and ribbons together. I usually use the white clear part of my foot as the guide for my seam allowance. I believe it is 1/4 an inch. You want to make sure you're hitting all of the layers to lock them together.
Sew back and forth 5 times to lock the elastic and ribbons together. I usually use the white clear part of my foot as the guide for my seam allowance. I believe it is 1/4 an inch. You want to make sure you're hitting all of the layers to lock them together.
Step 15:
Sew the next side of the headband and go back and forth 5 times, making sure to sew through all of the layers.
Sew the next side of the headband and go back and forth 5 times, making sure to sew through all of the layers.

Step 16:
Give a tug on both sides of the elastic to make sure they're secure.
Step 17:
Cut off the extra threads.
Give a tug on both sides of the elastic to make sure they're secure.
Step 17:
Cut off the extra threads.

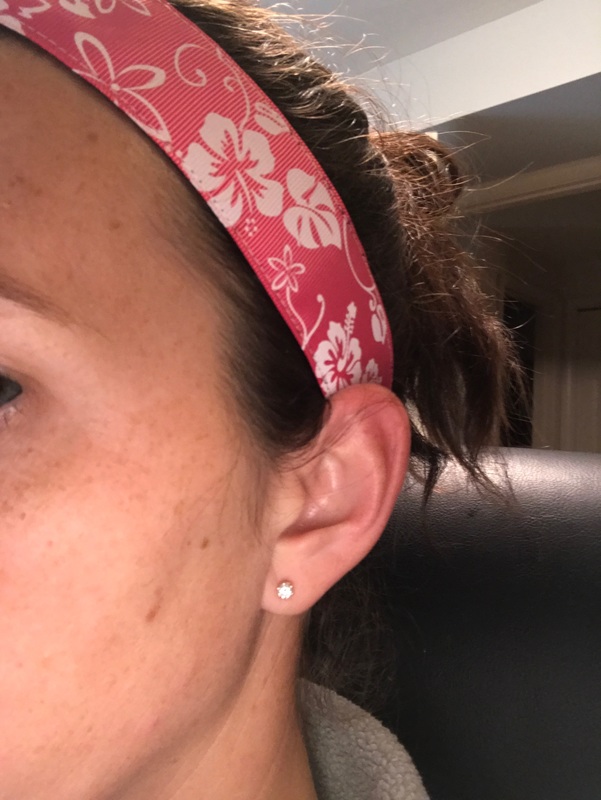
And go from THIS
To THIS!!
Oh wait, these were supposed to be stocking stuffers. Good thing these are easy to make. I can make someone else a different one!
Please share your versions of the headbands with us. We'd love to see them!
Happy Running!
Kelly
Please share your versions of the headbands with us. We'd love to see them!
Happy Running!
Kelly
 RSS Feed